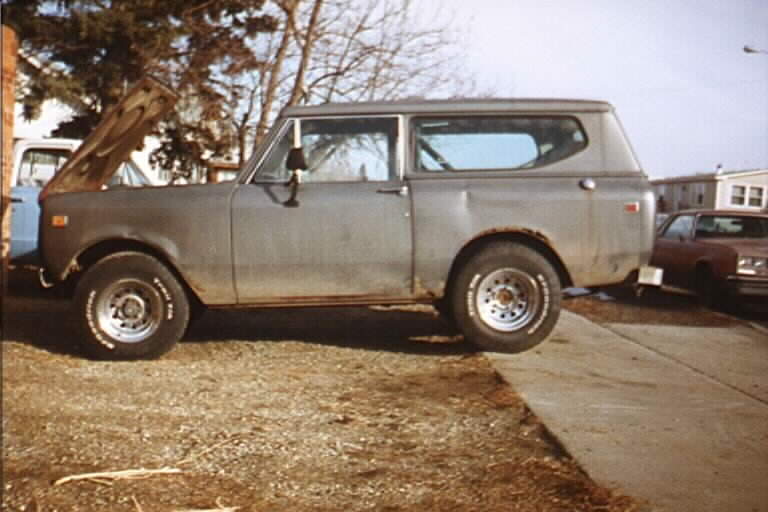
Before the lift..
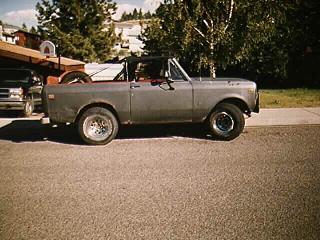
I bought the 4" kit from Rocky Mountain Suspension. I paid $490 for the 4" kit, plus $120 for four Heckethorn ES8000 shocks, and $24 for new frame/shackle bushings to go all around. $110 was added for shipp ing!! Total price of $744 delivered.
I also bought some new Grade 8 bolts to replace all of my spring bolts. 7/16" x 3.5" x 12 of 'em, along with 6 7/16" x 3" bolts for the shock mounts. This replaces every bolt in the suspension (4" kit comes with new U-bolts and spring bushings). Ride s hould be GREATLY improved when I'm done! I paid about $50 for the Grade 8 hardware (includes washers, lock washers, nuts).
When lifting the vehicle, brake lines need to be addressed. I paid $25 for a new brake line from an 85 Ford E350 rear end. This part is 4" longer than the stock rear brake line. I have more details in my brakelines page.
I installed the longer brake line the weekend of Feb 8th, 1998. I spent two or three hours at it. This is MUCH longer than it should take. I spent a lot of time wandering around the hardware store looking for teflon washers, and I had to go back halfwa y through the project since I did not have a 3/8" flare nut wrench.
Installation was simple. I cleaned the axle tube with a steel brush, then a screw driver, a rag, and finally a shot of compressed air (just had to play with my on-board air setup). I then unbolted the two hardlines from the brass block, removed the rear diff vent bolt, and removed the brass block from the axle. The other end of the hose was easier. I then popped in my new, longer, hose. Attach it to the top (frame) hard line, then place the brass block on the axle. (NOTE: I was carefull not to let b rake fluid drip into the axle vent hole!) I fitted the two side hardlines into the brass block, then put a washer above and below the brass block as I put the diff vent bolt back in (the new brass block has a different sized mounting hole from stock). I would recommend just using a steel (or brass) washer on the TOP of the brass block to make sure the diff vent bolt holds it in place. Washers above and below are not necessary (IMHO). I then bled the rear brakes, and I was done.
I'm going to bend the front hard brake lines up and down a bit to make the gap the flexible lines need to gap shorter. Again, more details of the hows and whys are available on my brakelines page. The stock Scout II front ca lipers use an uncommon 7/16" attachment that is almost impossible to find a longer replacement for.
While replacing the rear brake line, I gave the entire suspension a good dose of Liquid Wrench (it's what I had handy). I plan to repeat this treatment for the next few days until the lift springs arrive. In this manner, I should have a rather easy time getting things apart.
I spent around 24hrs installing the kit! The first 8 hours I spent doing ONE rear spring. The spring bolts came out just fun, everything unbolted just fine.. but the shackle to frame bolt was rusted to the inner sleeve of the bushing.. I had to use a Propane torch, a drill bit, and a few pry bars to finally pull the the bolt and inner bushing out. More time with the torch finally burnt out the old rubber bushing, and then still more time with a hacksaw blade to cut through the old outer sleeve.
I then repeated the same steps on the other side.. including the shackle to frame bolt being stubborn. I then unbolted the stock shocks and threw them in the trash.
I applied a liberal amount of silicone lubricant to everything.. the inside of the bushings and the outside of the bushings. I would put the steel inner sleeve on the ground, grease up one half of the bushing, and then pound it on with my hammer. Then grease the outside of the bushing, and whack it into the spring (or frame). I would then grease the other half of the bushing, and whack it into the other side of the spring.
I had to move the rear axle forward a bit to line it up with the center-pin on the the rear springs. I took a tow chain and wrapped it around the front axle, then brought it back towards the rear. I then threaded the chain through the top of my Hi-Lift jack. I placed it so the lifting area (foot?) over the rear axle side. I then put a socket wrench into the Hi-Lift handle area (the handle was too long to fit inside the fender area). A few clicks of the Hi-Lift, and the rear axle was then moved forward to drop into the the center pin. I did this on both sides
I then drove around for a day with just the rear end lifted.. looked like a rear-high muscle car. :-)
One one 10 hour session, I managed to get the front suspension done. Same type of problems. On one side the shackle/frame sleeve was rusted to the bolt, on the other side, the rear spring mount bolt was rusted to the inner bushing sleeve! Ouch. I spent a lot of time with a die-grinder making 3 cuts into that bolt (head, then inside on either side) before I could finally drive it out. I spent more time cutting the frame bushings out with a hacksaw and torch again.. what a chore.
In my haste, I tightened the front springs and shackles before putting weight on the suspension. Because of this, the front shackles tilted "rearward." When I took my Scout on it's first test ride, it sat VERY high, and it bounced terribly. I also noticed it hard to steer.. just right of "center," the pitman arm would shove the drag link dust cap into the shackle.. I now have a chewed up boot on my drag link. I'll be fixing that soon. NAPA 650-117 is $3.49.
A call to Skyjacker confirmed that I needed to get the front shackle to point forward, not backwards. I came home from work (bouncing all over) and drove around to a good sized tree in the backyard. Wrap my tow strap around the tree, and another strap around the two front spring eyes. I put my Hi-Lift in the middle. After loosening the shackle bolts, I then tightened up with the Hi-Lift until the shackles pointed straight down.
Ride is MUCH better, and it doesn't bounce around like it did before. I'm actually getting quite used to it. There's a photo available off my home page of what my Scout looked like before, and now after. I'll post new pics when I get the real film pics developed.
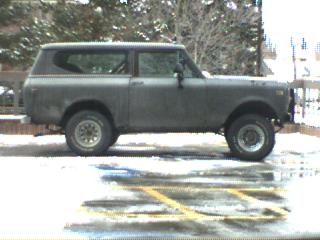

Before the lift..
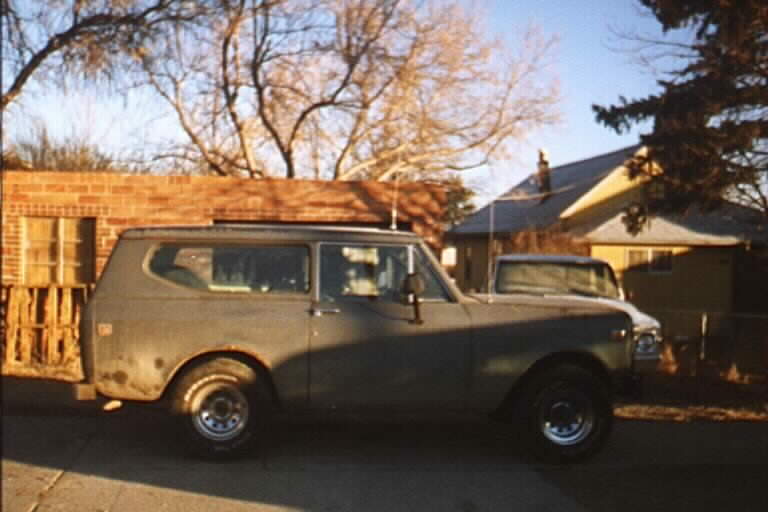
This is where I parked the Scout to do the work, taking advantage of the extra "clearance" provided by the
sidewalk and it's drop-off into the driveway.
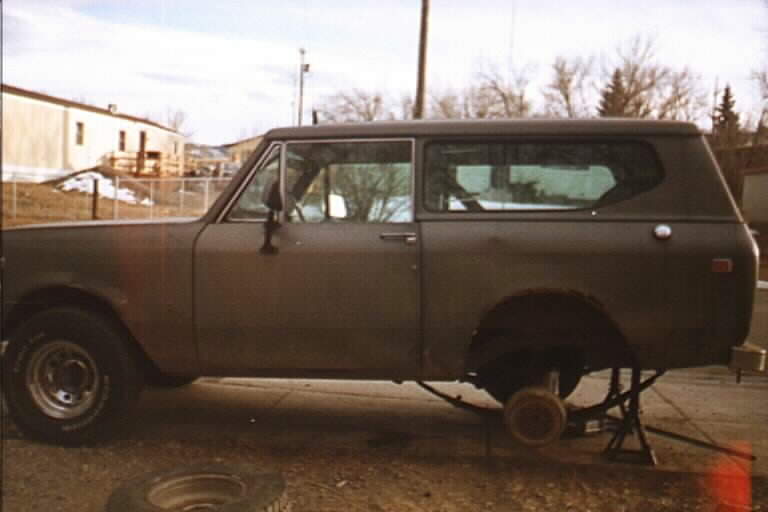
Here, I've just finished the first 8 hour session - the driver's rear spring and shock has been replaced!
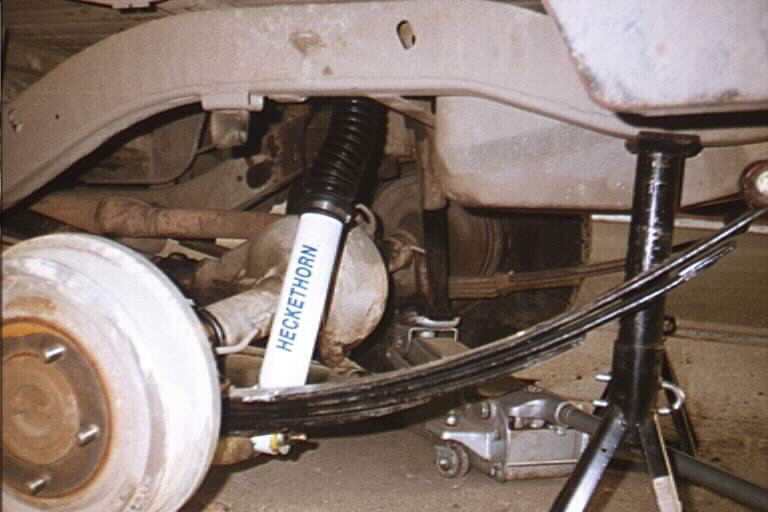
A close up shot of just one side done.. you can see the 20 yr old shock on the passenger side still, and maybe notice how much lower the driver's side of the axle is (since it has the "lift" springs installed)
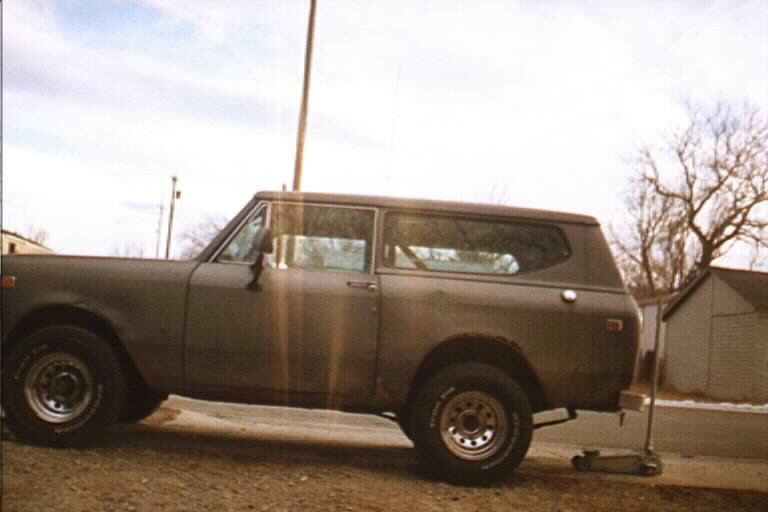
This is with JUST the rear end done..
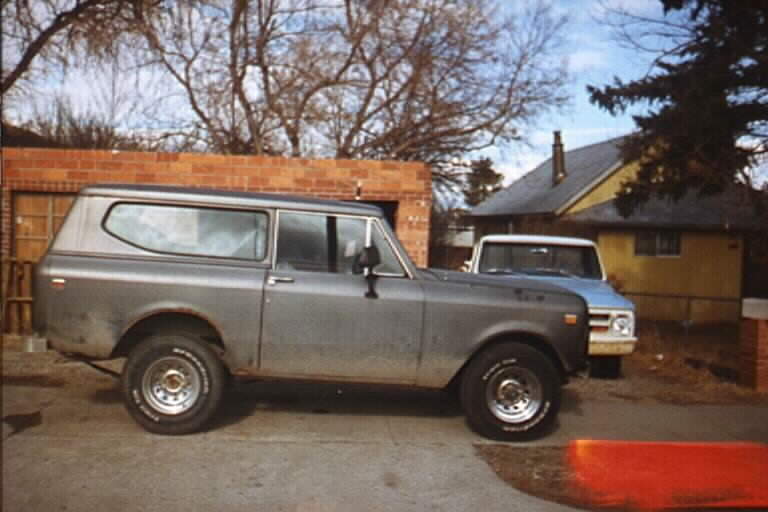
Rear only, from the passenger side
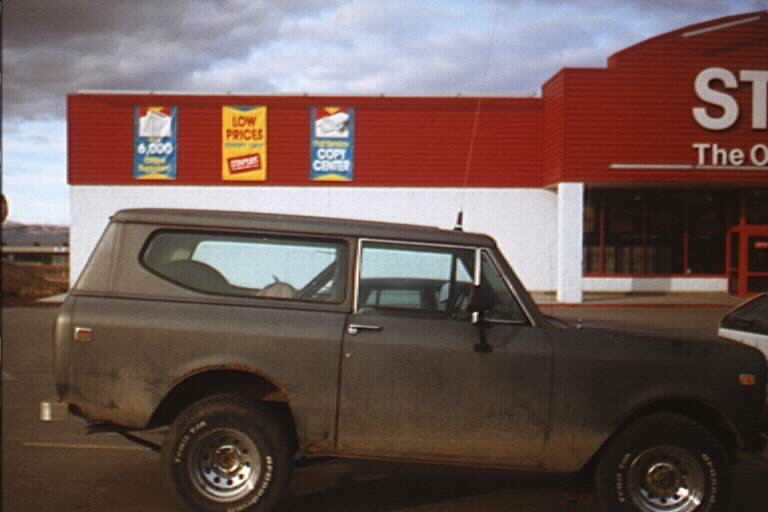
Outside of Staples.. driving around with just the back half lifted.. kinda funny, huh?
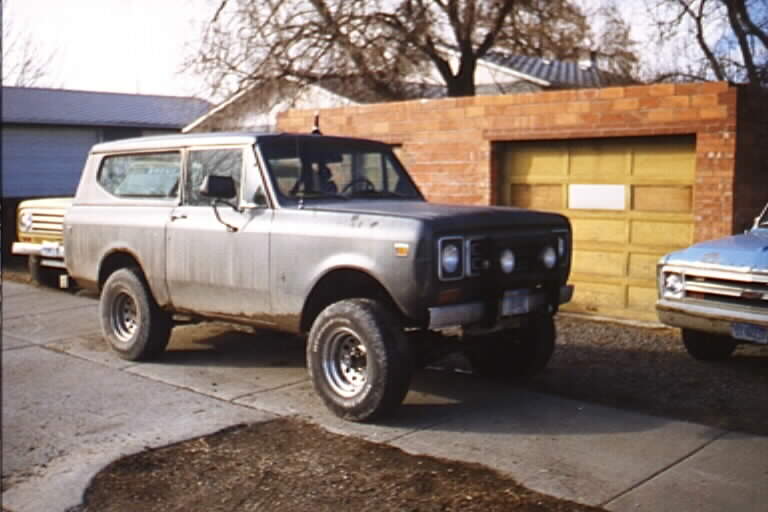
View from the front, with the lift installed!
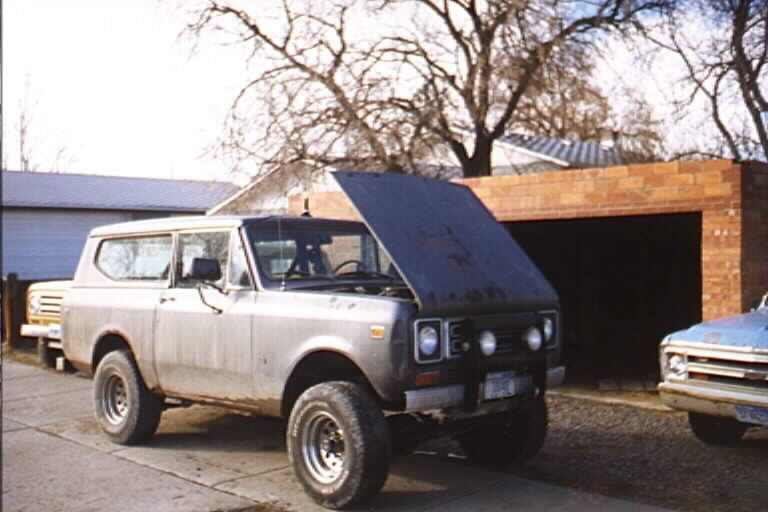
This time, with the hood up.. ;-)
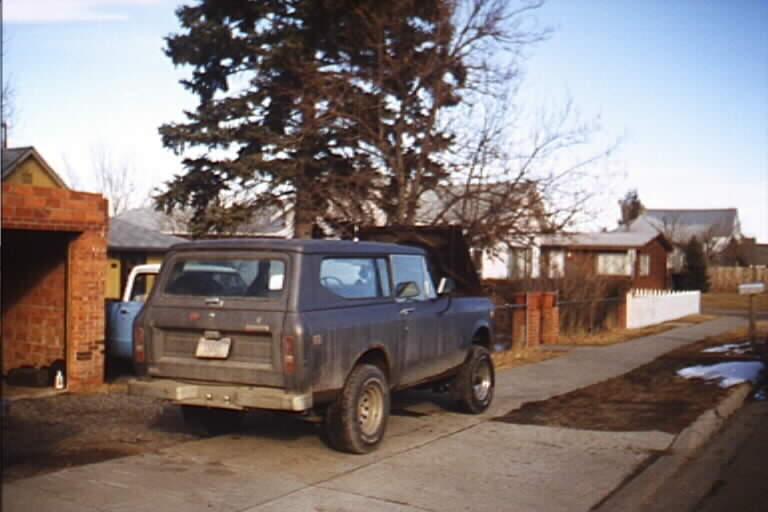
Lift installed, shot from the rear