- Log in to post comments
For years I've lusted over a winch, but they were always so expensive.
I even bought a hunk of 2x6x3/16" tube too-many years ago to build a new bumper, but never used it.
Then, one day, I was at CostCo in Missoula, without Michelle.. and bought an 8,000lbs Champion winch for $300.
No, it wasn't the ~$1,000 Warn I wanted, but I wasn't getting around to spending $1000 on a winch, so why no try a $300 unit?
All fine n' dandy, but I needed to build a bumper and get it mounted..
Image Gallery
 I started with a stock bumper and a Smittbilt Bumper Thumper.
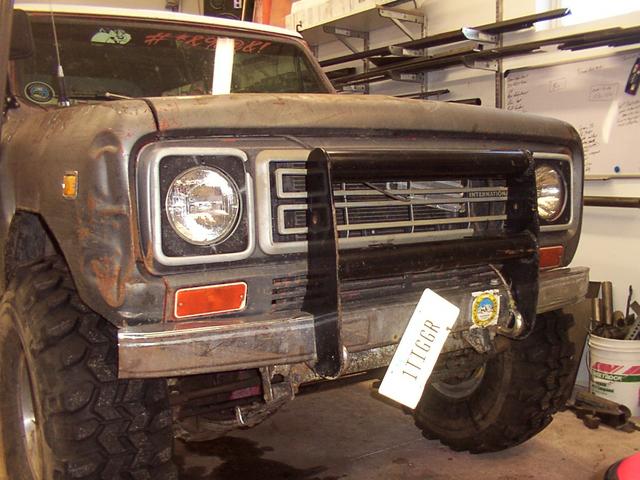
Which I quickly stripped off.
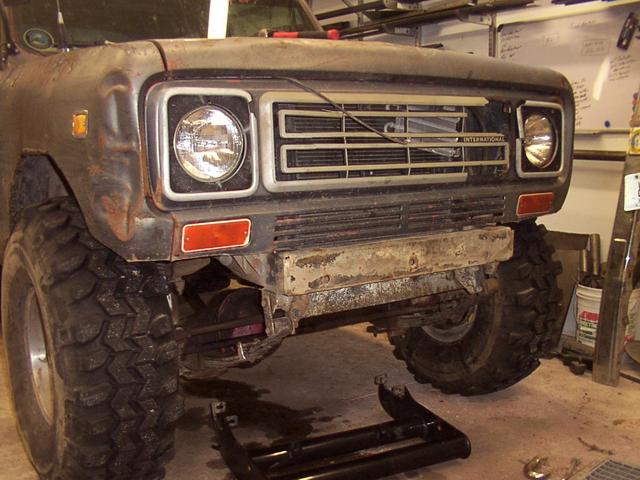
I cut two holes in the front of the frame, then put some 1.5" square tube inside, and notched some 3x2x.250 angle to sit over the top.
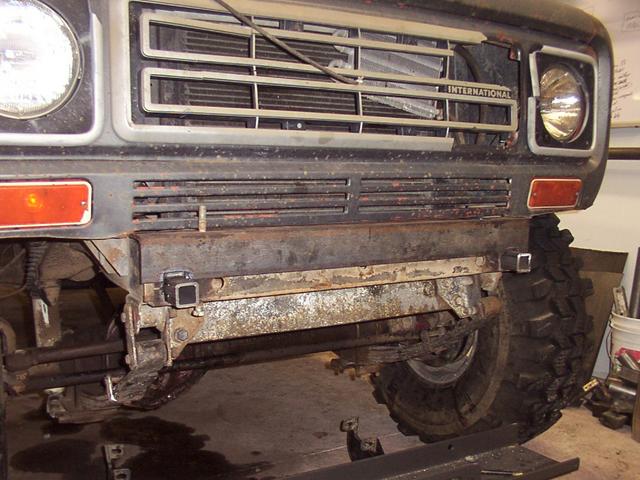
I took the 2x6 and put it in the drill press to drill some winch mounting holes out..
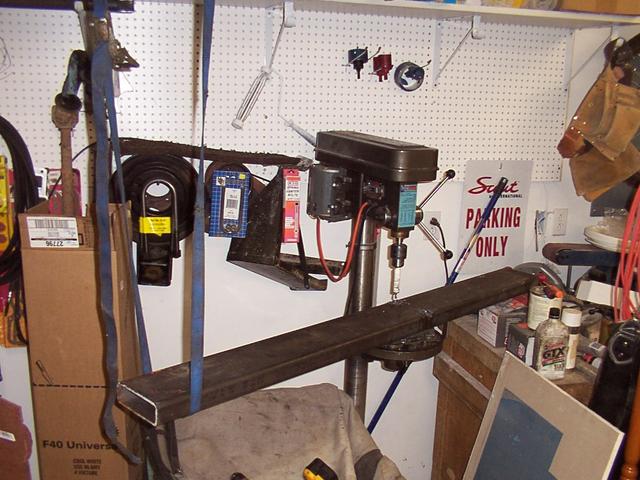
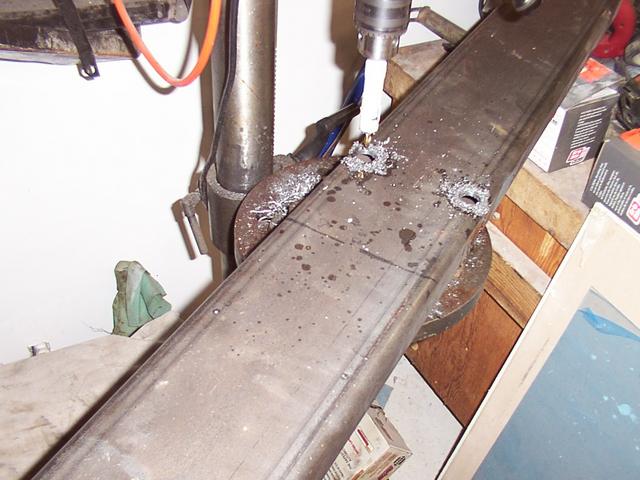
And fitted another piece of angle into place..
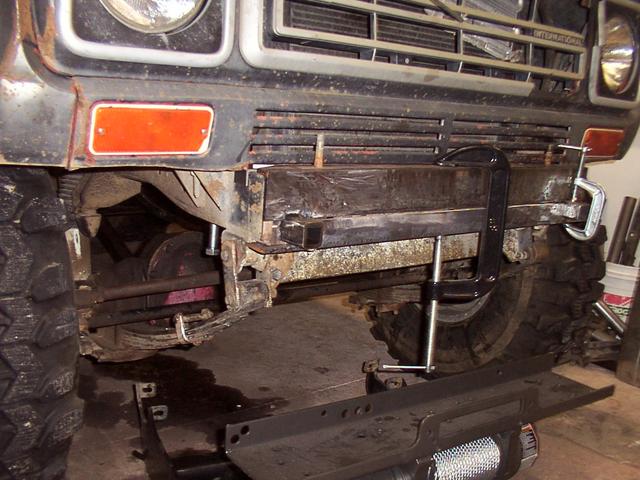
The 1.5" tube comes back far enough that the bolt in this picture goes into it. I also wound up tying the top of the bumper in at the same pre-drilled hole in the frame.
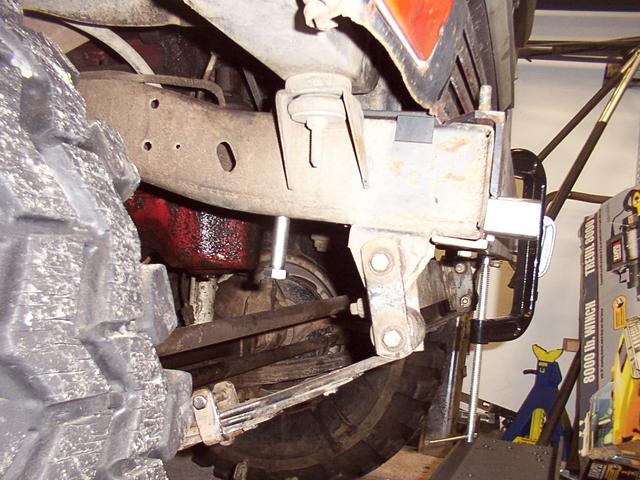
An early mock-up..
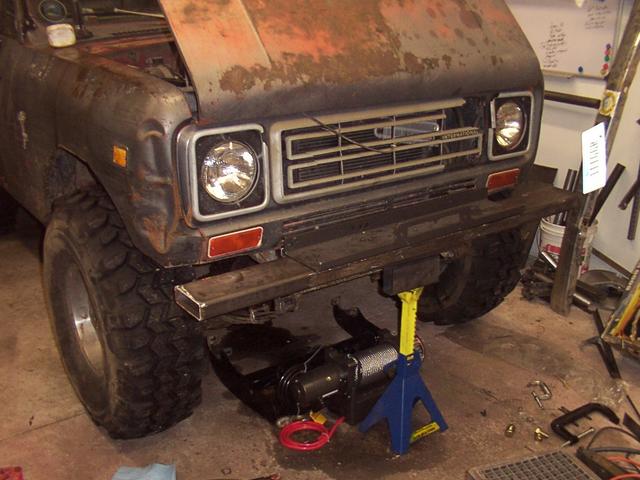
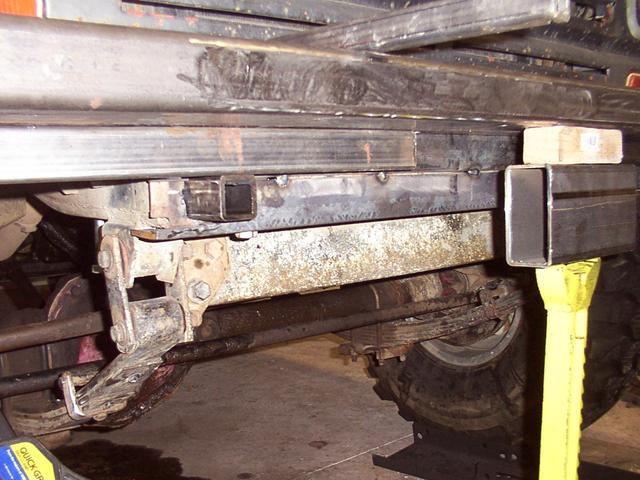
I tapered the ends of the 2x6. One side was with the bandsaw, one with the torch.
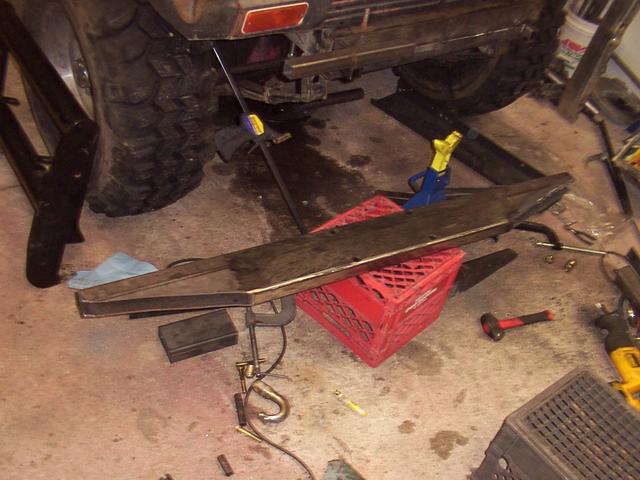
Hindsight - I should've cut just behind the face, then cut the diagonal out, then bent the original face back into the cut area and would've wound up with a nicer finish with less work.
Quick mock-up..
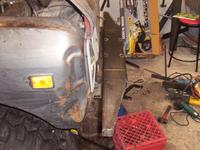
I mounted the winch with two bolts, and tack welded the other two in place, then changed.
The sleeves serve two purposes - one, keep me from crushing the 2x6 when I try to torque the winch bolts down, and two, keeps the bumper air tight to use as an air tank.
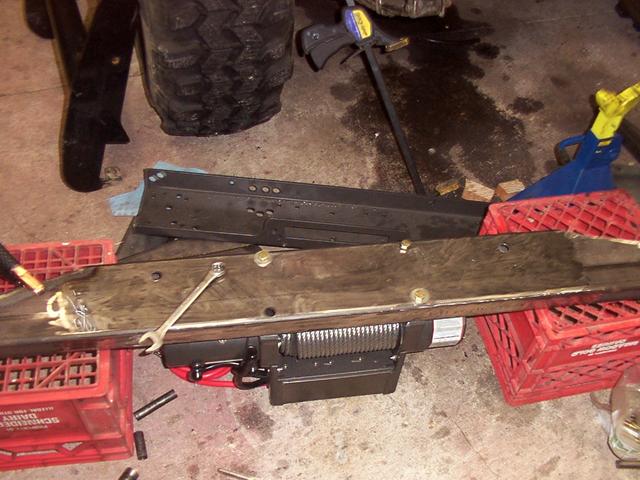
I wanted to reuse my Bumper Thumper, so I needed to make the 2x6 thicker like the stock frame with some spacers.
I also welded a coupon of 1/4" of 3/8" flat to the back of the bumper to provide more meat to drill and tap for a 1/4" NPT fitting to use the bumper as an air receiver.
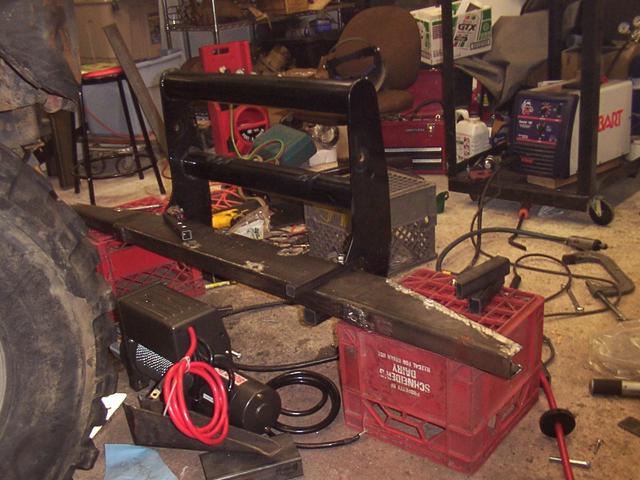
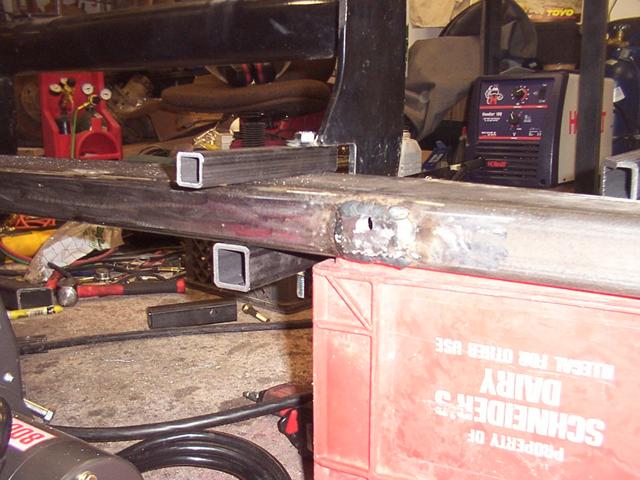
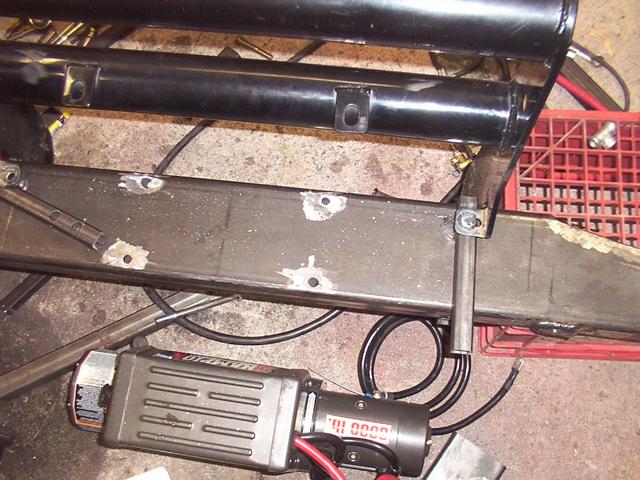
I added another air fitting on the underside for a drain.
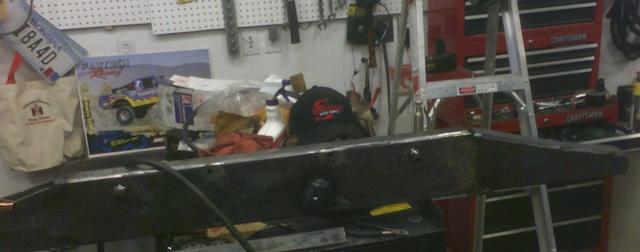
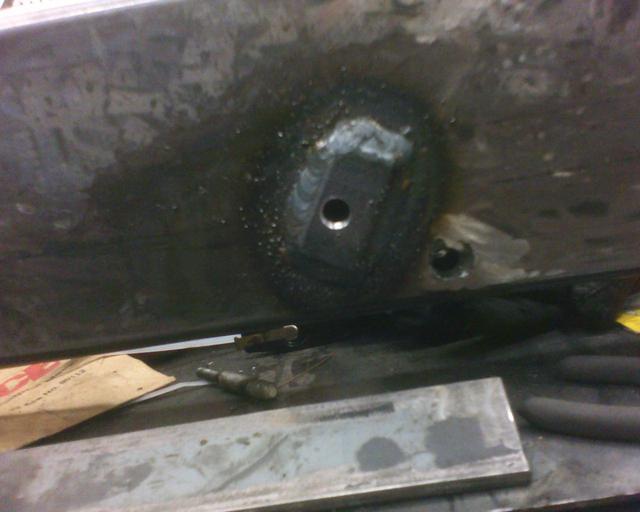
The Bumper Thumper mounting tubes are longer - they actually extend up into the spacer blocks.
I used 2x1/4" flat to cap the angle cut ends.
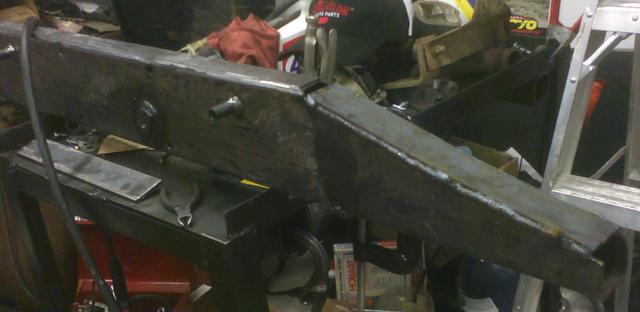
Might be taking shape finally..
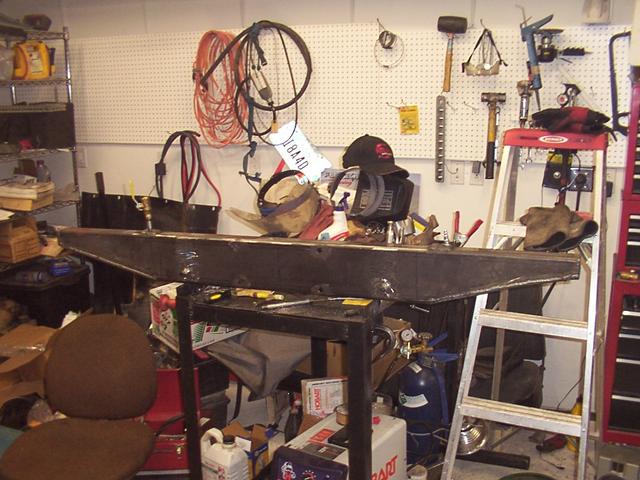
Welding up the winch sleeves.
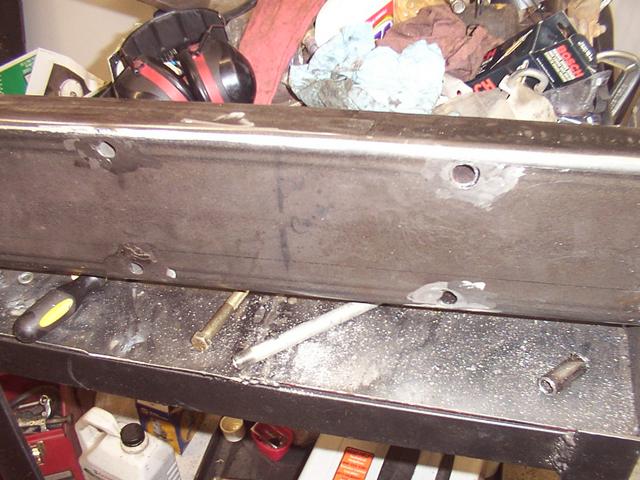
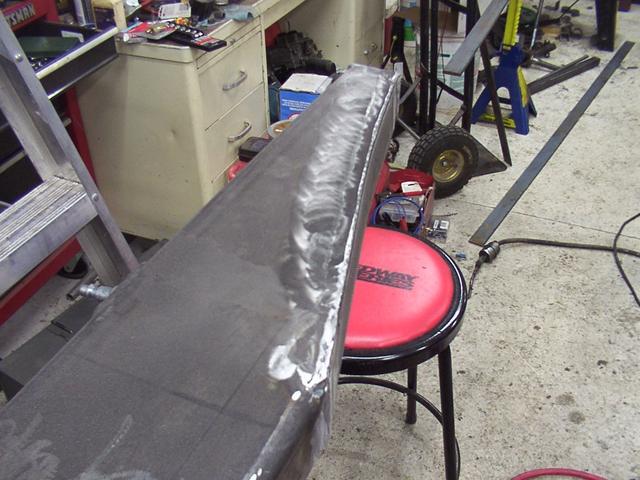
And a LOT of grinding to try and smooth the capped angle cuts - this is where cutting behind the face and bending it back would've saved a lot of time and finish work.
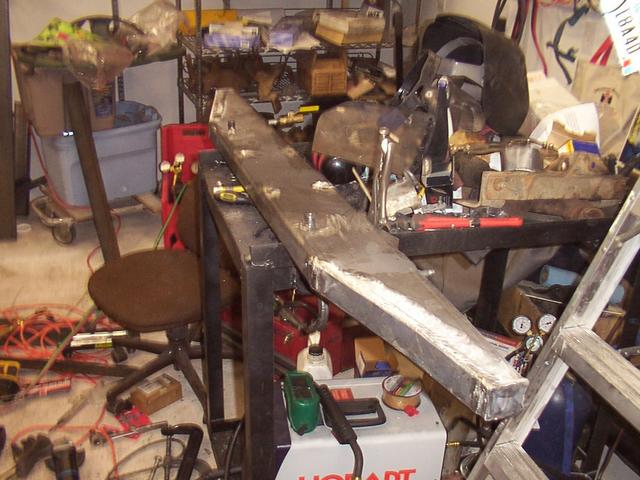
Here's the mounting system.
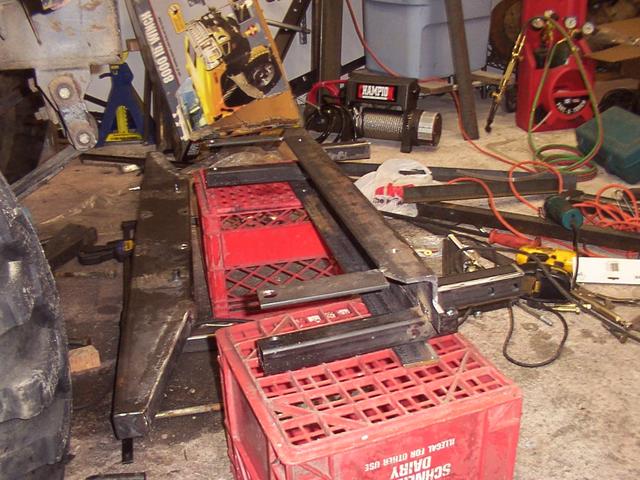
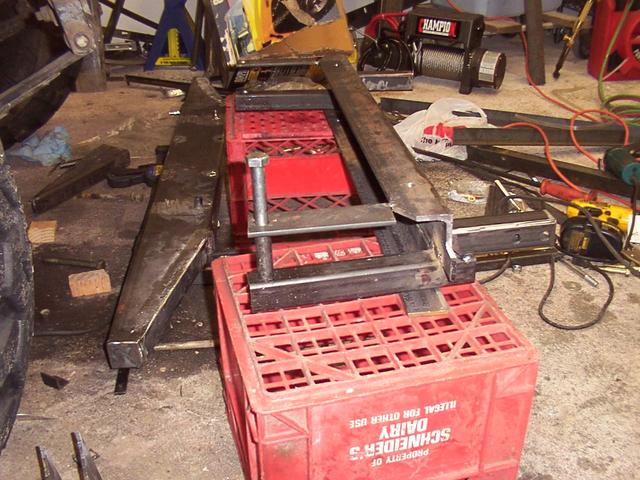
The sleeve gets installed after the bumper is in place and keeps the frame from getting crushed. At the same time, it provides a STRONG clamp between the 1.5 tube and the lower half of the frame rail, while providing a string but not-as-strong arrangement at the top.
Starting to come together..
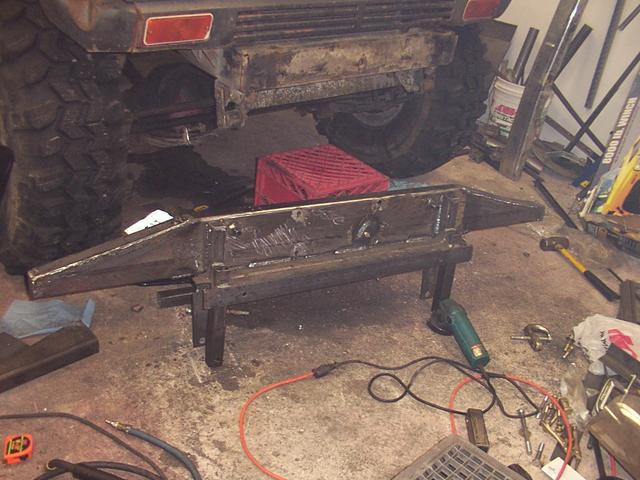
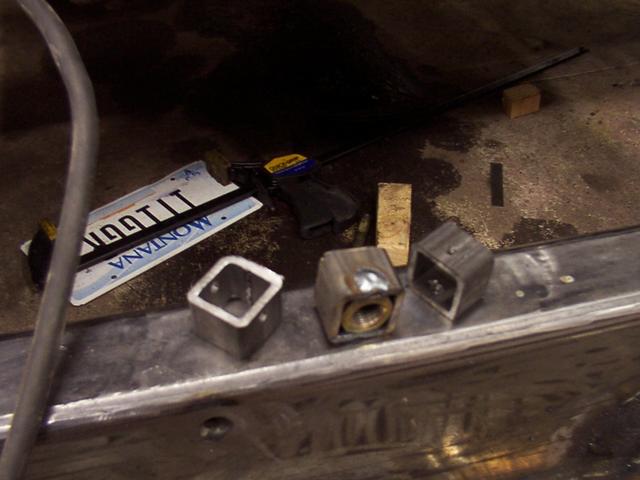
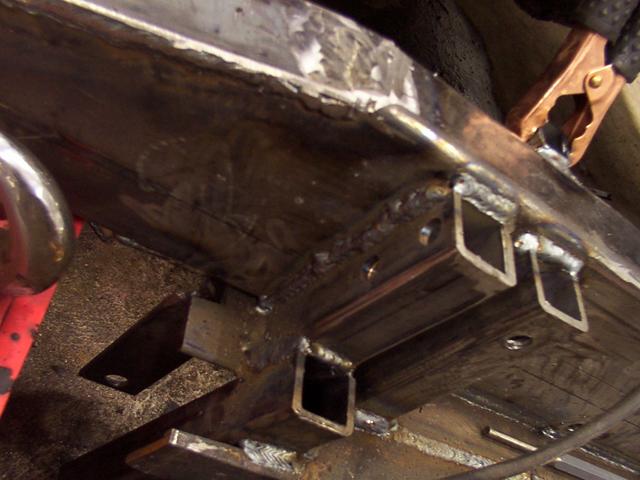
I wanted to put some blind nuts in place for the tow hooks. Instead of trying to tack weld nuts in place inside 1.5 tube, I ground two corners of the 1/2" Gr8 nuts and shoved 'em inside some 1x1 square tube and plug welded. Then the 1" tube went inside the 1.5 and was welded in place.
Even if the welds fail, the nut can't turn.
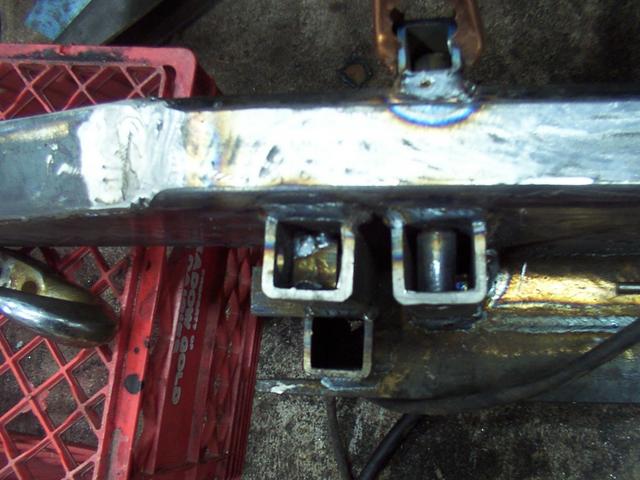
The mounting 1.5 extends forward a bit, then some more 1.5 is tacked on top to raise the 2x6 winch deck up. This piece is then drilled for the tow hooks (see the two holes?), while another piece was added more to the center of the bumper to accommodate the Bumper Thumper.
Now with the fairlead mount fabricated.

Another mock-up.
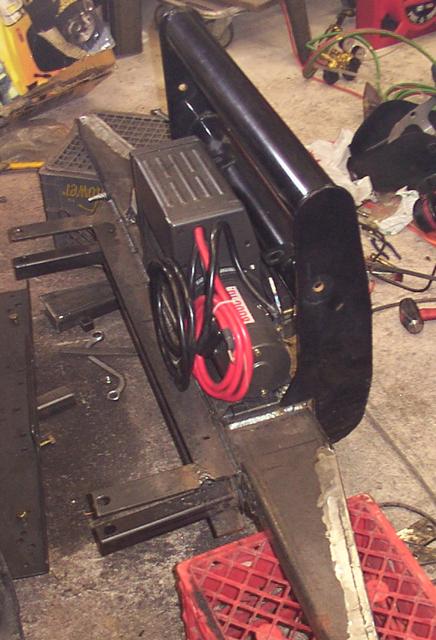
Underside view.
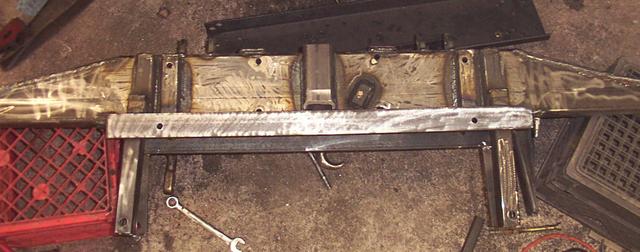
Note the addition of a receiver hitch. Also note I angle-cut the rear, to allow dirt/mud/rocks to wash out and fall out the rear, since it's going to wind up packed full at some point.
I also added tow-bar tabs to the front with a gusset over the top, and the square tube on either side on the top with a hole in 'em is intended for some off-road lights if I feel like it.
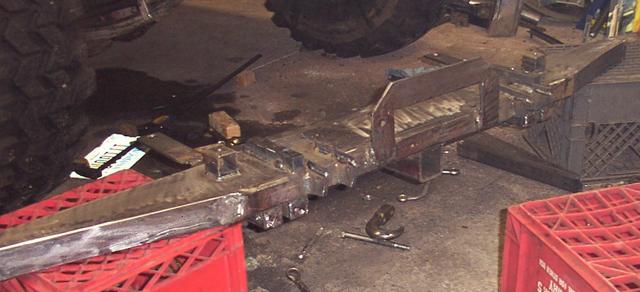
And after a few coats of ZeroRust (first red, then black, then clear)

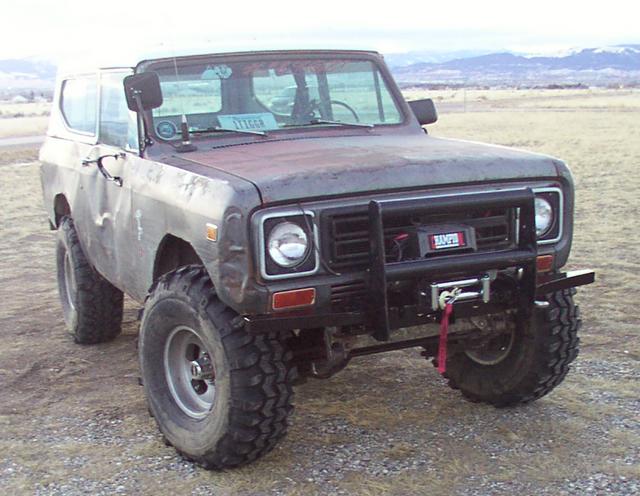
And the finished product.

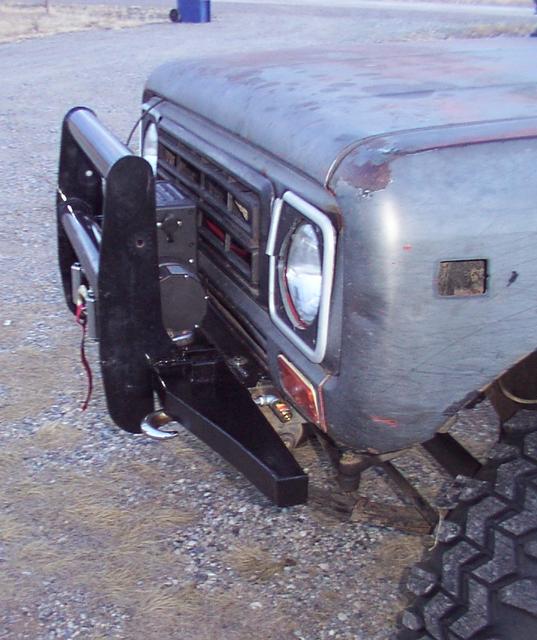
The fairlead is just behind the bumper-thumper, and the whole thing is just forward of the grille.