- Log in to post comments
Michelle had been asking (insisting?) on air conditioning for a few years, but I never got around to installing AC in the Travelette. As RMIHR approached, we made the decision to just drive the Green '73, leaving the Travelette at home. The advantage was 15mpg compared with ~7mpg, so our fuel costs were half.
Of course, the Scout didn't have air conditioning either, and Scouts get kinda hot inside, too.
So, with $1000 or so from the income tax refund, I placed an order with Arizona Mobile Air / ACKITS.com for a Scout II AC kit.
Photo Gallery
The kit came with a Sanden rotary compressor.
And the York conversion mount, to use the stock York mount with the Sanden.
A box of hoses n' such..
Unrelated to the AC install itself, I opted to install a clutched fan to reduce the noise at speed. My SVs tend to turn 3000rpm or so at highway speeds, and a big fixed fan draws a lot of air at the RPM and makes a ton of noise, so the rad was drained and the shroud removed.
The other thing I worked on was replacing the front main seal that was leaking, and after replacing it, discovered that the Loadstar front timing cover, with the oil fill, will not work with the York AC bracket.. so I had to replace the front seal in another spare front cover and then replace the whole front cover. Good thing I removed the shroud and fan..
One of the steps to keep the interior cool is to keep the heat out. Reflectix has worked great for me in the past. I only had enough handy to do the firewall, but it helps. You can also see the ALDL connector poking out from under the dash - that's for the AFI IHOnly North TBI injection kit.
Next, the grille was removed to get access to the front.
A hole was cut in the inner fender to pass the AC hoses forward. You can see the condenser mocked in place with a 2x4 under it.
The drier was mounted right outside a second hole in the inner fender, with a straight fitting going straight through the inner fender/core support into the drier.
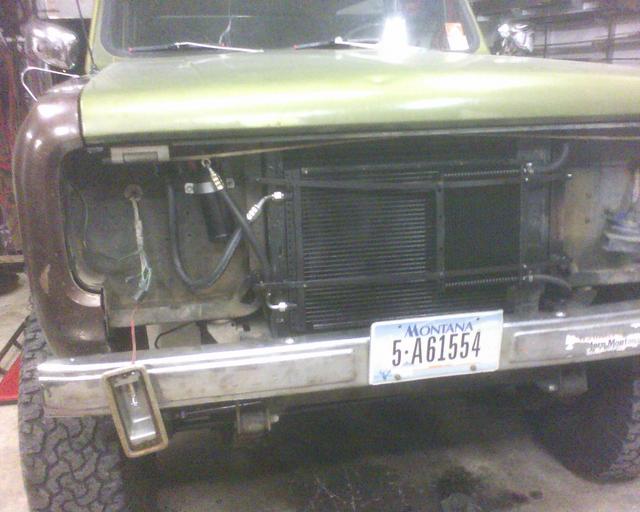
A short 90-deg elbow then does down into the condenser.
It's important to note that you WILL do this a few times, because after you figure out how / where you want the hoses, you need to remove them and take them somewhere to get crimped. NAPA charged me $25-ish for the crimping. I have since learned there are some portable crimpers out there, so you might get away with hiding the factory crimps under the dash n' such, and only needing new crimps in easily accessible locations.
I wasn't so lucky, and had to R&R the evap unit a few times.
The condenser is mounted with some 1/2" x1/8" flat strap, stand-offs from the core support, and some bolts.
Hi-tech, I know.
There's also sealing tape between the condenser and the radiator, per Michael Mayben's advice.
An auxiliary transmission cooler was added, while I was in there, since this Scout is a slushbox.
Compressor mounted, hoses in the engine bay, and everything charged..
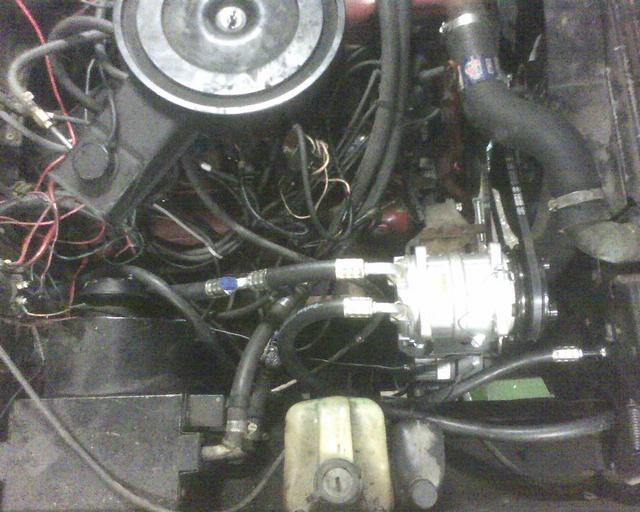
And now all of the evidence covered up.
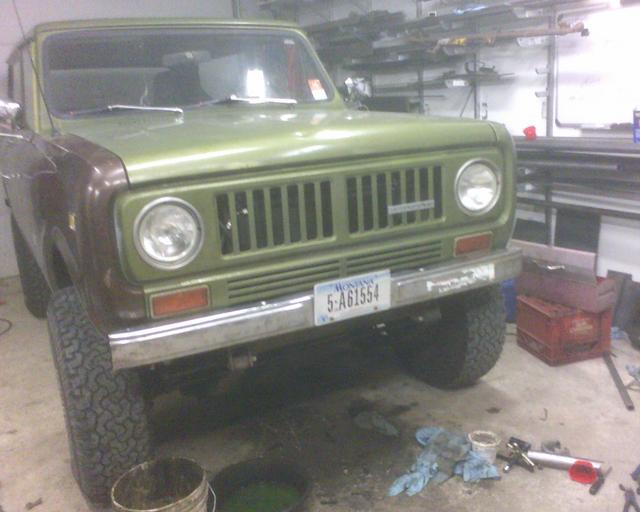
I need to get a picture of the interior - seems I never did an after-shot!
The AC does cool down the interior, though if the Scout starts hot, it takes a while to do that, and while the AC is cooling things down, you also have the rest of the Scout getting heat-soaked from the engine/exhaust.
On a cool morning, it'll keep the Scout cool for most of my driving, but on the highway, after an hour or two, the AC is still better than having the windows down, but it still feels HOT inside the Scout - enough that you'll try rolling down the windows only to realize it's HOTTER if you do that.
I have a few air leaks to seal up, and the tunnel REALLY needs some Reflectix or other insulation - my right knee would get burned from the tunnel on the right side, and cooled from the AC on the left.
Clearly, it's not the same as, say, our 2000 Buick LeSabre's AC system. ;)
Keeping some heat OUT will sure help though.
And, as I noted above, 15mpg at 65mph with the air on.. with an old Loadstar's 304V8, AFI 305TBI system, automatic, 3.73 gears, 33" tires, and 4" lift.
OK, took a few in-cab pictures of the finished project, though not the best quality.
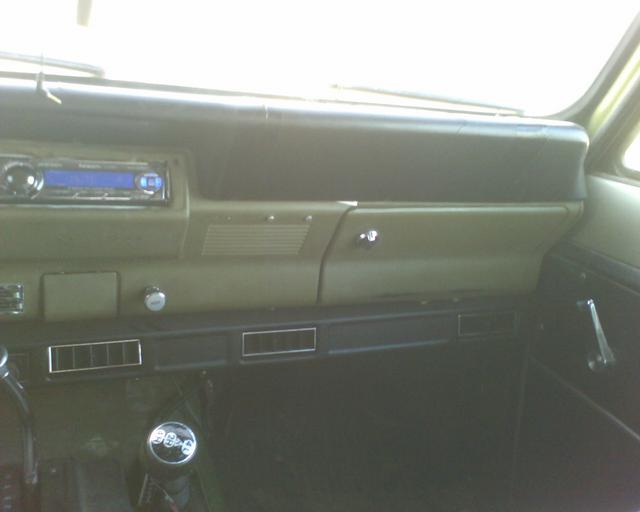
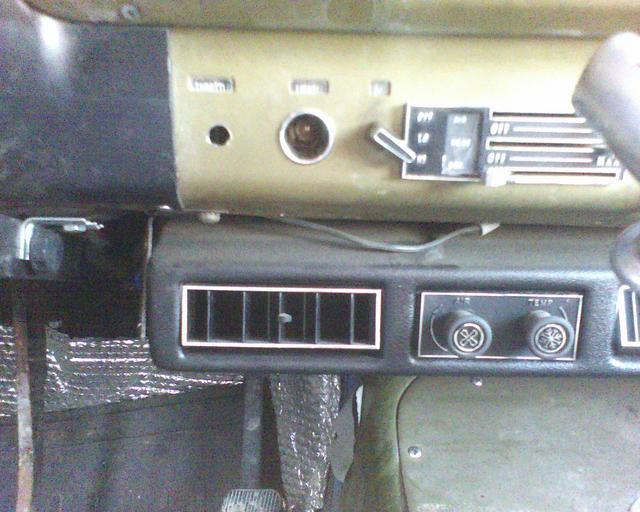
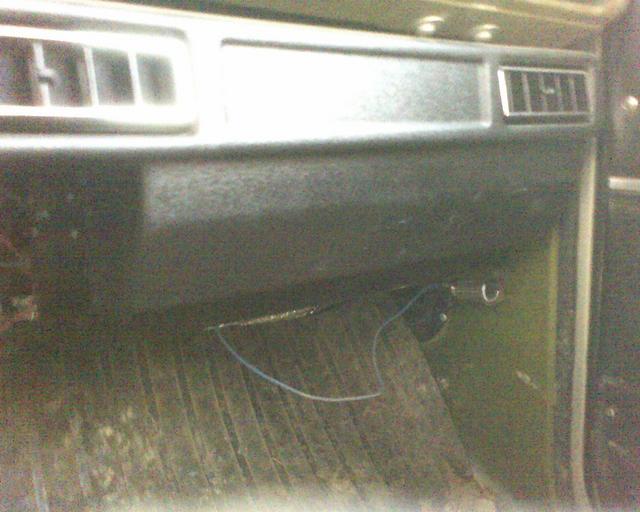
(The dangling wire is for the aux power outlet, and needs tucked up and tied back, but the point of the last picture was to show the foot-well and how compact the unit is)