- Log in to post comments
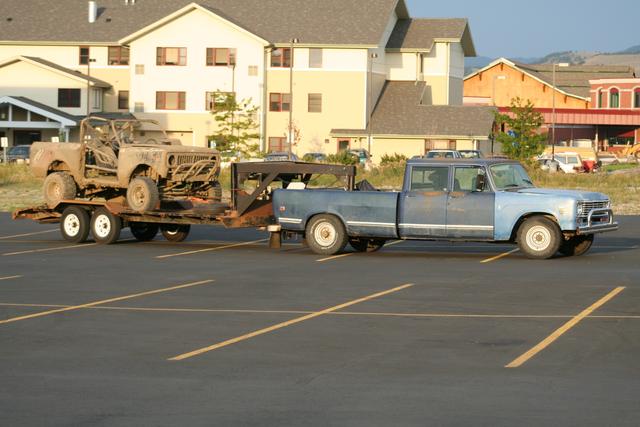
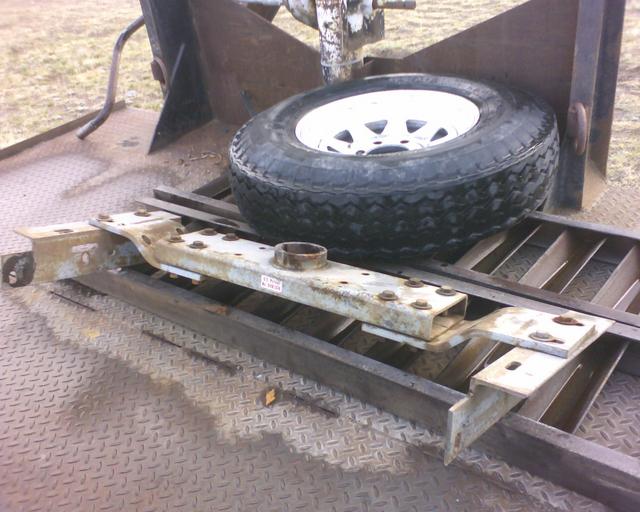
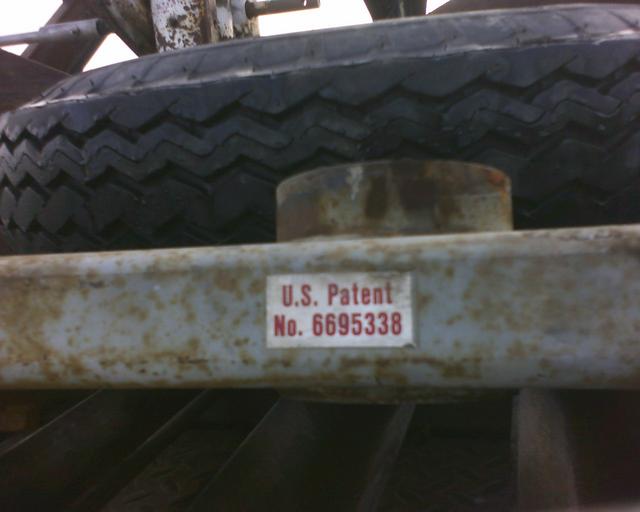
Robert "JetFxr" Searles of Montana GSE sold me a 20' steel gooseneck trailer, and threw in a gooseneck hitch from a 90s F250.
Naturally, it didn't just bolt into my 1974 International Travelette.
Fortunately, installation was still possible with a little customization.


First mock up - too wide.
The old hitch that was a bit set in it's ways needed some persuasion to come apart.
My Hypertherm 600 plasma did the trick.
I knew the hitch would be a bit too wide, so I started mocking up the narrowing job.
I did some mock-up fitting. Fortunately, I parted out a 200 4x4 a few years back and kept the back half of the frame. It wanted the springs and the axle for my 74 100 4x4 to upgrade it to a 3/4T class, and it was easier at the time to just leave it all attached to the frame, which worked out great.
The 74 200 has a box support right where the gooseneck hitch side plates needed to go.
So I removed it from the spare frame.
I had to grind the rivets and then hit them with the sledge hammer and punch, but they came out easily enough.
Thank goodness I had a spare frame to practice this stuff on without having to work under the box.
I was then able to mock up the hitch and "Z" plates.
(the pin box is upside down in these pictures since it was too wide to fit normally, and for mock up purposes, works fine)
So, the hitch needed narrowed.
1.5" at first..
And then another 1/2"..
Notice the "stain" on the rail where the bed mount used to be.
I couldn't move it forward any more than about 2" in front of the axle centerline, because of a box stiffener under the bed.
I decided to fabricate new side mounting plates that would replace the box support AND act as the mount for the hitch.
Mounts are just common angle steel.
Because I had the spare frame, I was able to drill the mounting brackets to use the existing holes in the frame, plus one or two, but it would mean I wouldn't have to drill a BUNCH of holes with the plate in place, under the truck box.
The pin box needed to be redrilled for the new narrower Z plate location.
Then it went to the bandsaw.
Back to the Travelette, the bed mount needed removed - and you can see the stiffener that prevents me from moving the hitch forward.
Then a hole was cut..
The narrowed pin box was done..
(I guess I should've painted it)
And the mount for the hitch that is now serving as box mount as well was installed.
Z plate was put in place over the angle mount.
Underbed view
Hitch relative to the axle.
All torqued in place with new hardware.
And the hole in the box with the receptacle.
The ball drops in. You can turn it over to make a flat bed again, but the rear diff hits the ball and pushes it back out.
I also had to drill for the safety U-bolts before it was all said n' done, but the worst of it was over.
Photos