- Log in to post comments
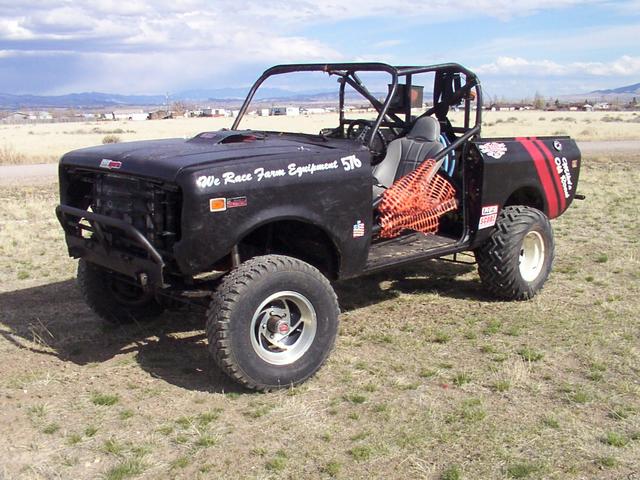
After the Acton race in September of 2005, I found the engine mount failing on Little Devil.
I also had a bent radiator from rear-ending Mike Jongeling on the start line, and then discovered the body mounts tearing from the frame some more, so it was time to do something.
Time.. for a winter overhaul..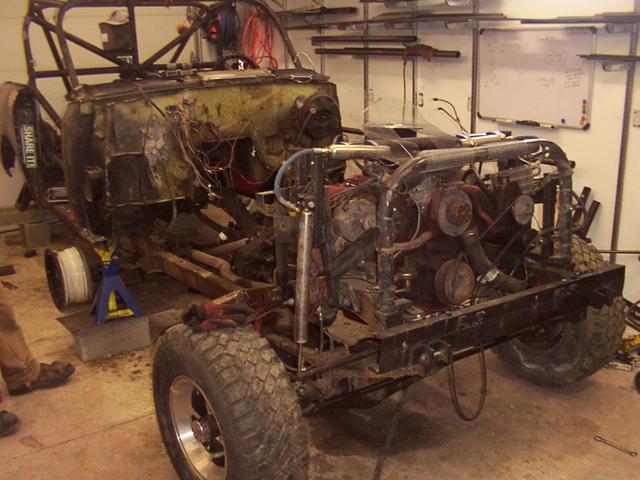
Image GalleryNo overhaul is complete without some new goodies, of course.
First, some long-overdue air-bumps. Fox 3"-ers.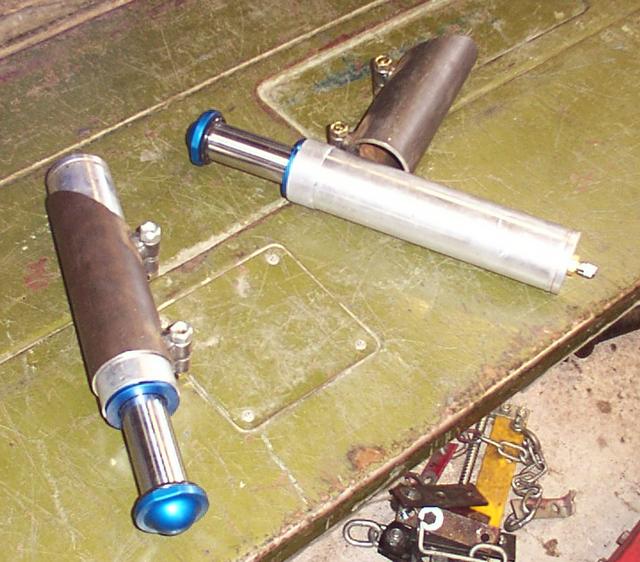
These make the landings from big jumps hurt a lot less. The small bumps hurt a little more - there's not much up-travel on even an SOA Scout II - but it'll handle the big bumps better now, and should result in less strain and fatigue on the entire chassis (and driver!)
Blair loaned me his tired Beard seats for the season and I got spoiled over the old plastic buckets I was running.. so a new Beard seat was in order.
I started by lifting the body from the frame. This involved pulling the front clip, undoing the various body mounting bolts, disconnecting the fuel line and other things attaching the body to the frame/engine, then backing the Scout up to the door and jacking stuff up.
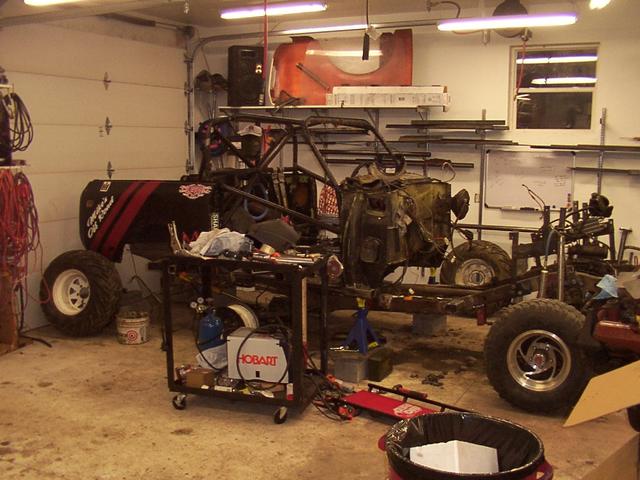
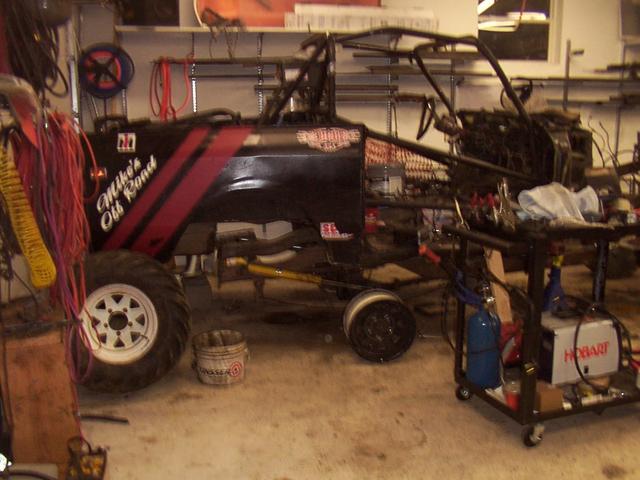
After it was up and supported, I took the rear tires off and put on some rims, and rolled the whole assembly forward to get access to the damaged areas.. like the body mount.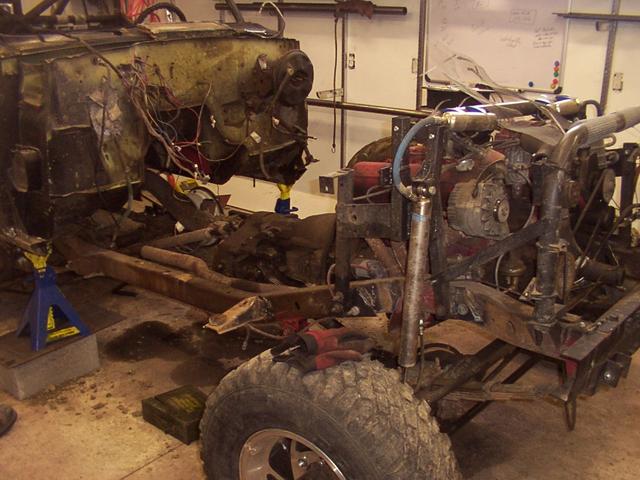
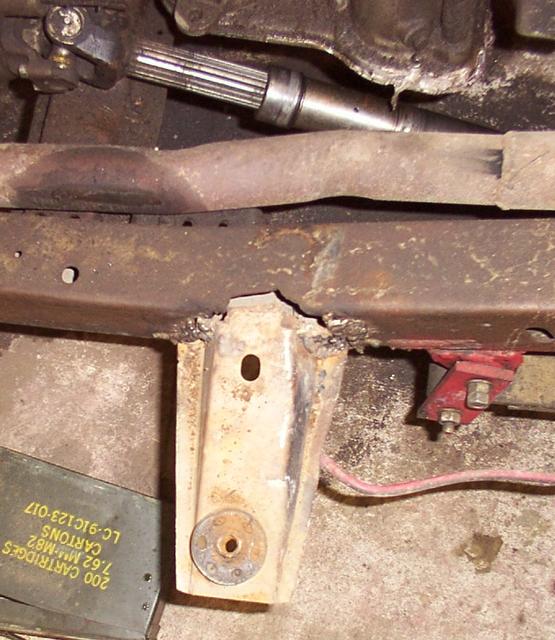
I finished removing the damaged stuff and cleaned up the hole..
Welded some 4x1/8" plate in place..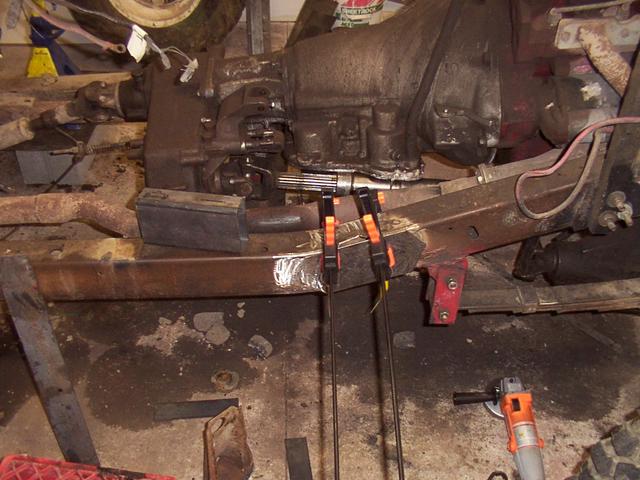
Then fabricated a new mount and welded it into place.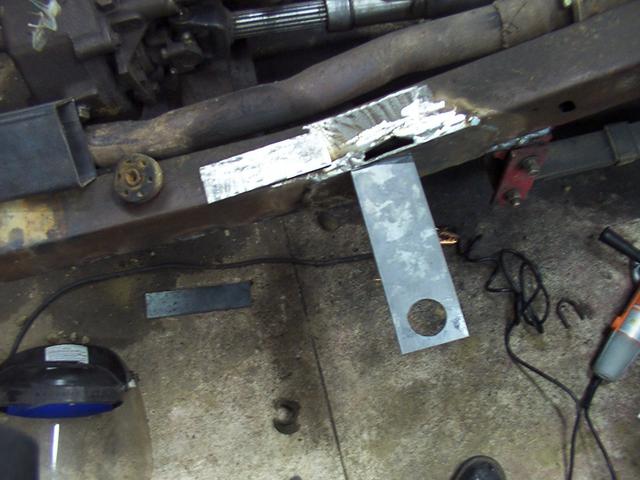
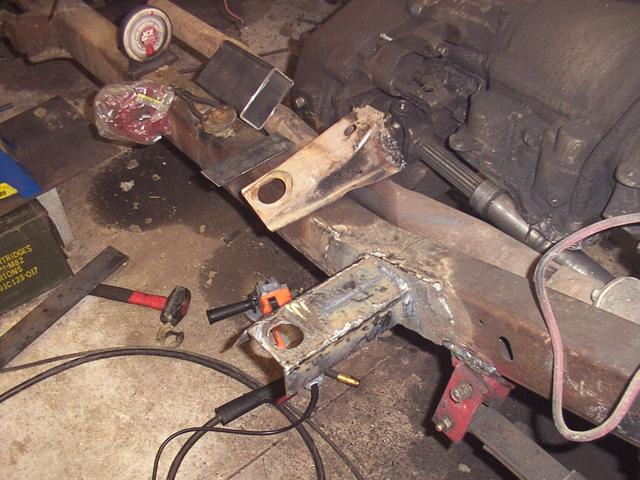
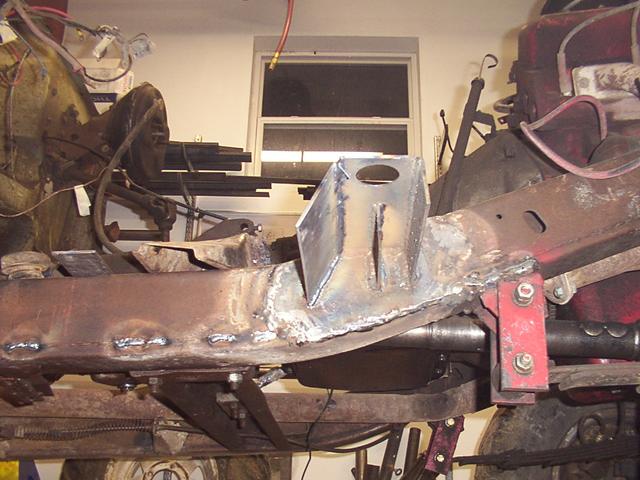
As you can see, I also welded up a few seems where the frame welds had failed, too.
I boxed the end of the new mount..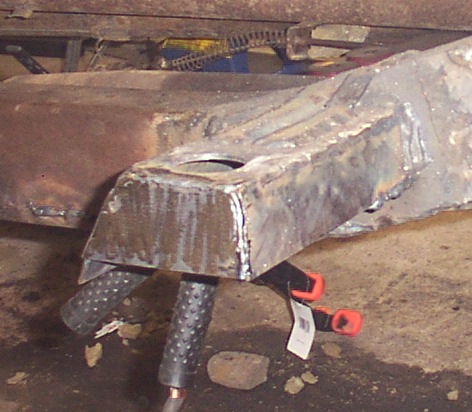
And added some strap over the top for extra insurance.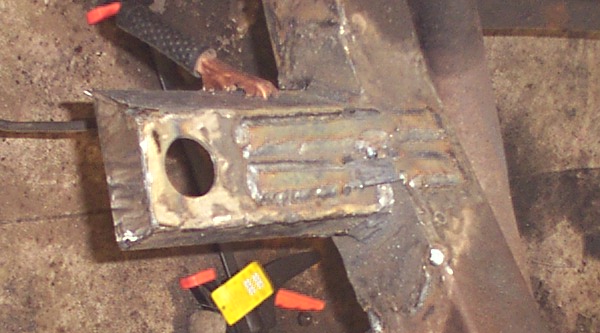
The body mounts see a lot of stress when the Scout drops out of the sky.
The driver's side wasn't as bad, so after cutting it off and plating the frame, I just welded the stocker back in place and gussetted it with over-straps and an under rib.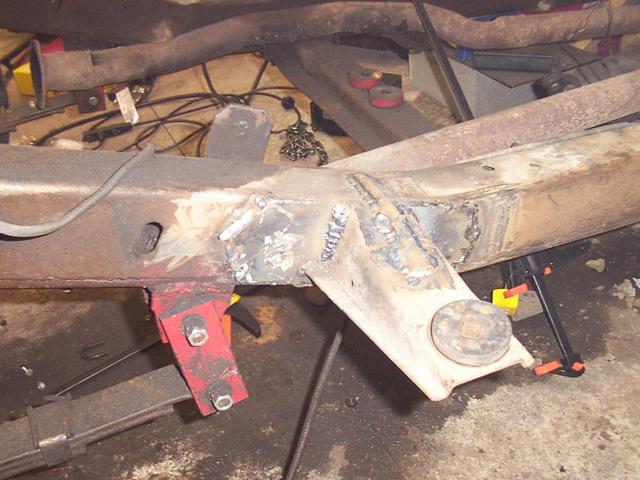
Fresh paint came later.
I pulled the engine and transmission to make the engine mount part of this project a lot easier.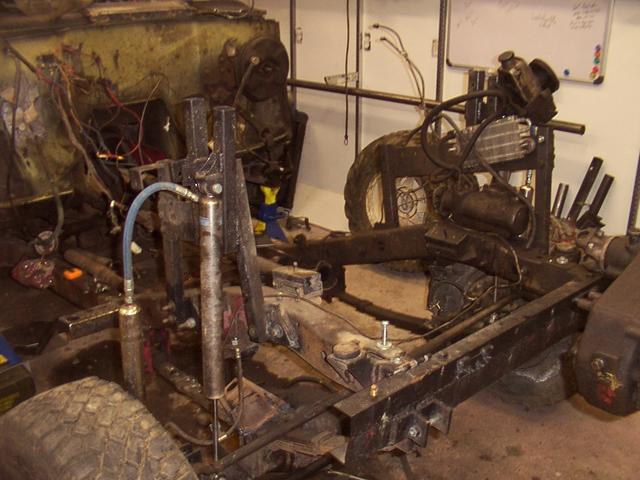
The driver's side engine mount had definitely failed.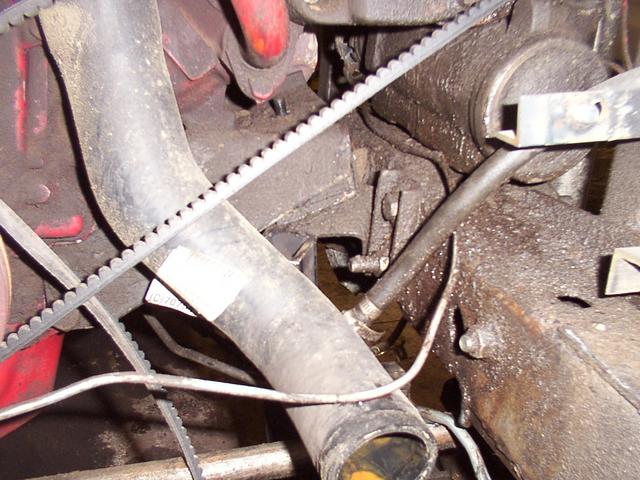
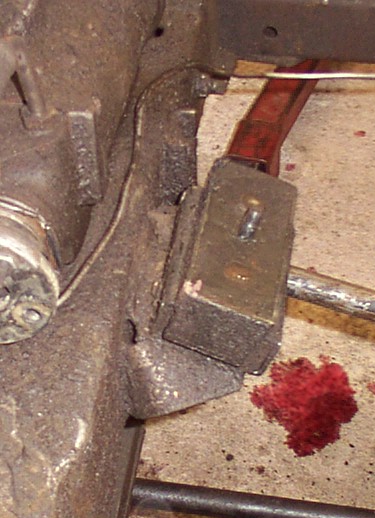
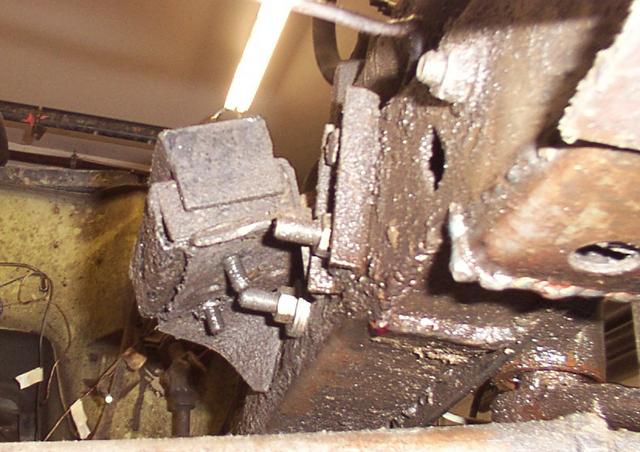

The engine mount "isolators" are the RPT brand from IH Only the Ismail brothers in California.
As far as I know, I'm only the second person to harm (note it didn't FAIL, the frame bracket did) an RPT engine mount (the other would be Pro Arena Truck owner/driver Terry Keuhl out of Aurora, CO).
Not only had the frame mount failed, but I had decided that I needed to raise the engine/transmission assembly anyhow, because at "full bump" the front driveshaft was contacting the 727 transmission pan, and I didn't want to further restrict my already minimal up travel, so the engine/trans/t'case had to go up.
Plus, running the engine mounts over the top of the frame makes the mount itself stronger..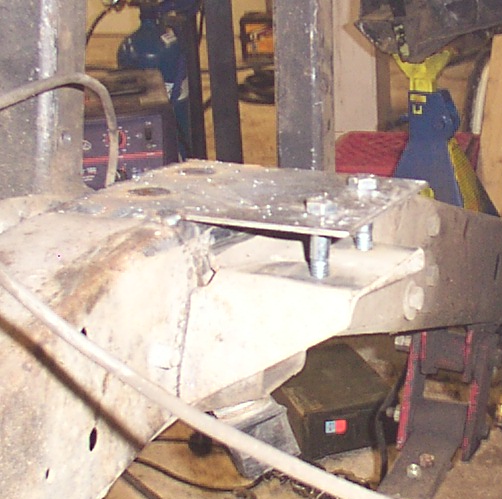
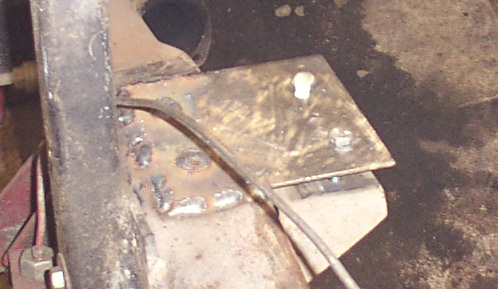
Lots of gussets help, too..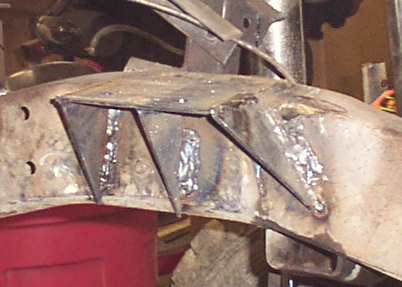
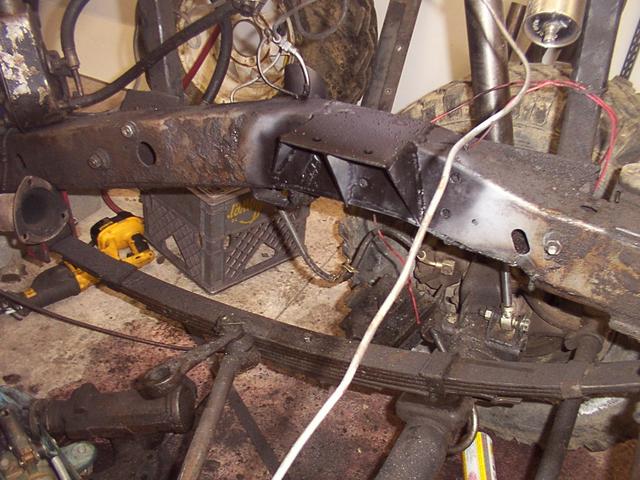
Now, about those air bumps.. the factory already had some bump stop brackets in place, so why not re-use them?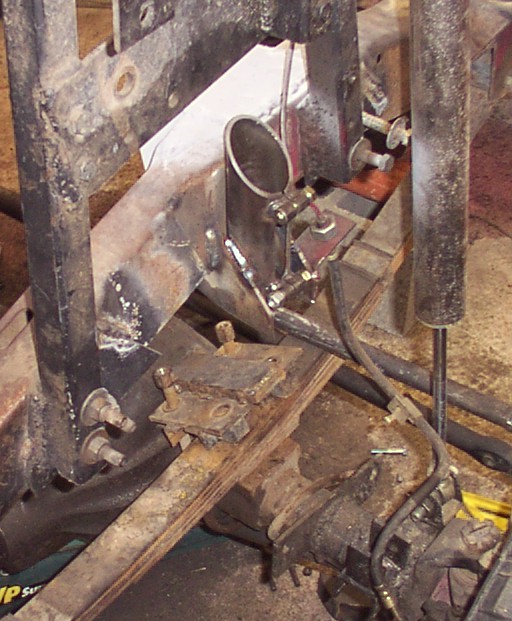
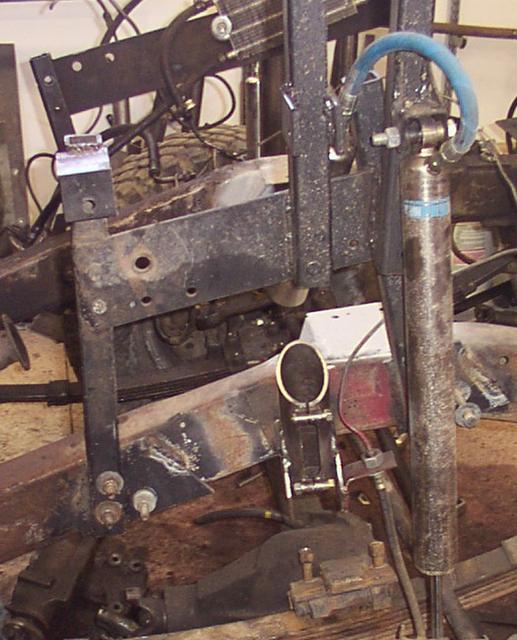
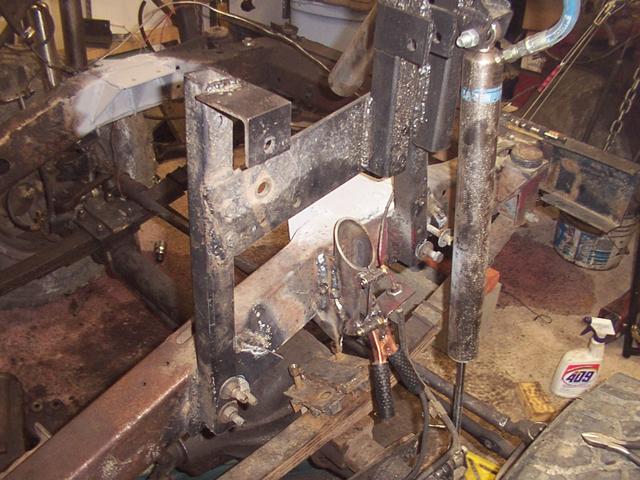
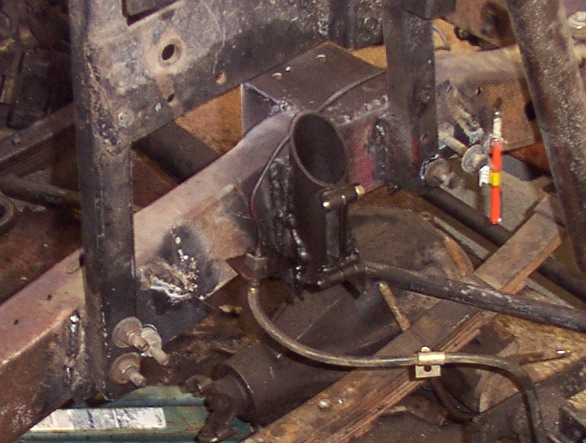
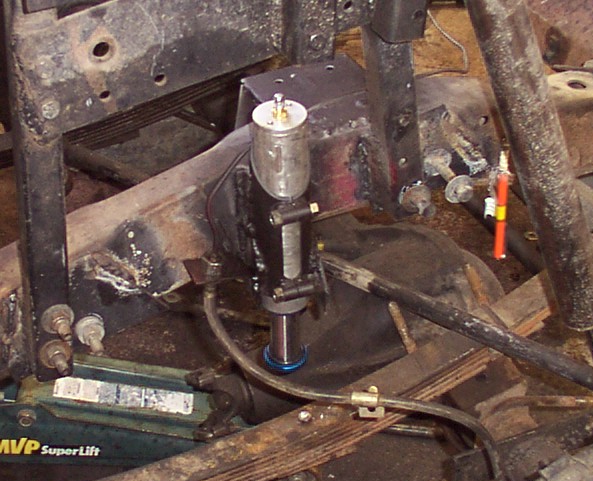
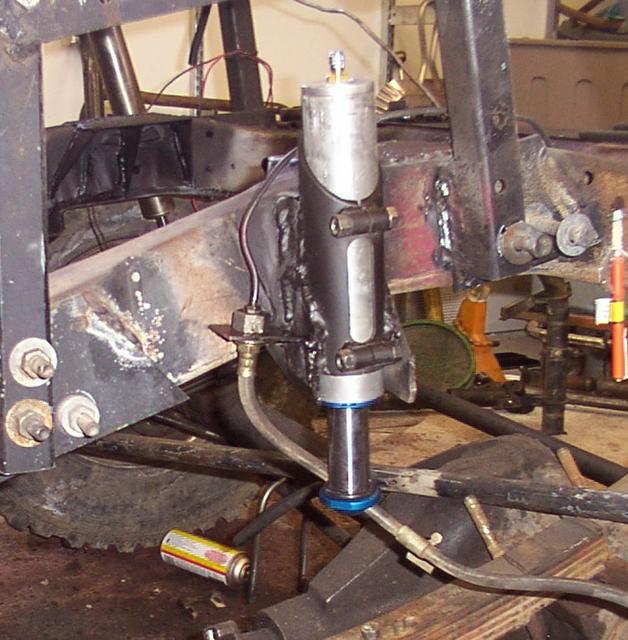
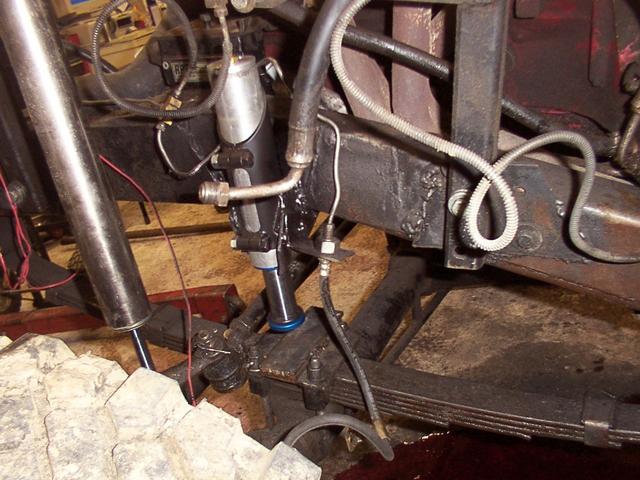
While I was at it, I pulled the steering box and replaced some seals and put a new rag joint in.. only to find that my placement of the air bumps was a problem - the ragjoint and bump wanted the same space!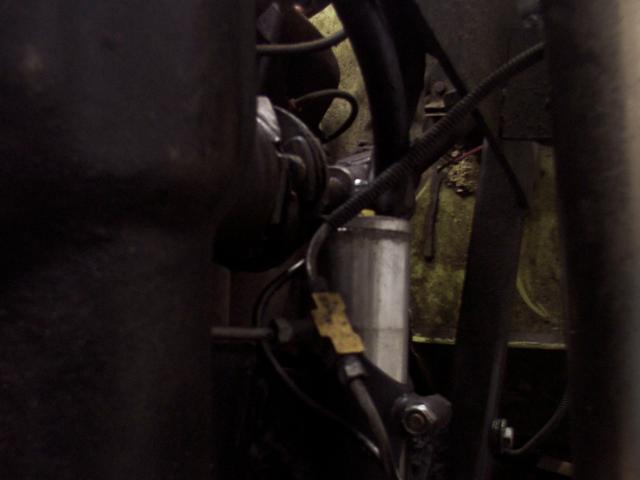
So I wound up ordering a Borgeson from Back Country Binders..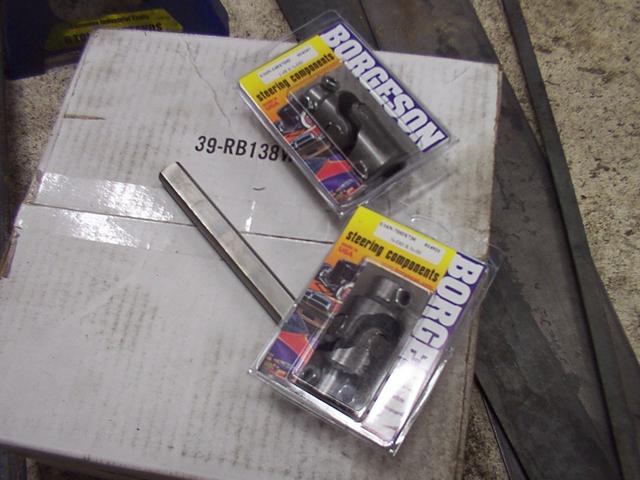
The Borgeson is a smaller package, and clears the bump just fine.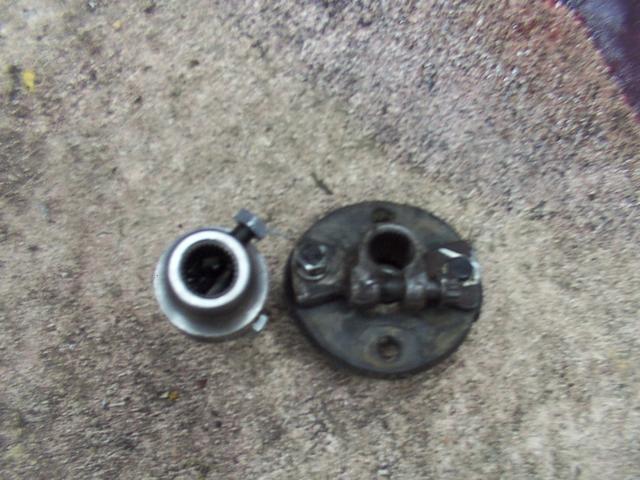
Here's a little test-fit of the driveshaft/727 pan / new bumpstop setup with raised engine..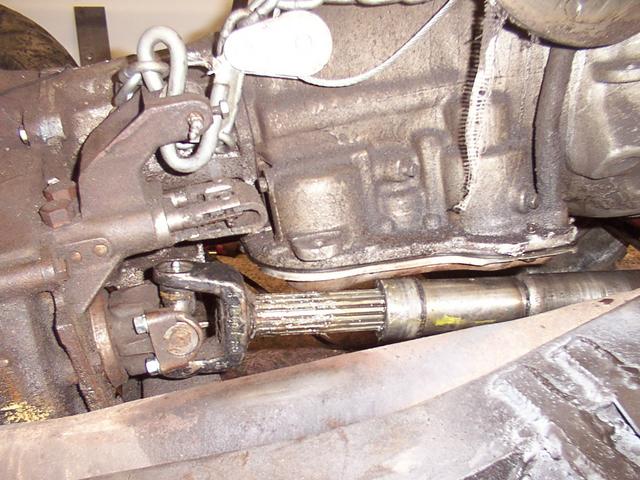
The oil pan came off for inspection and some plastigaging..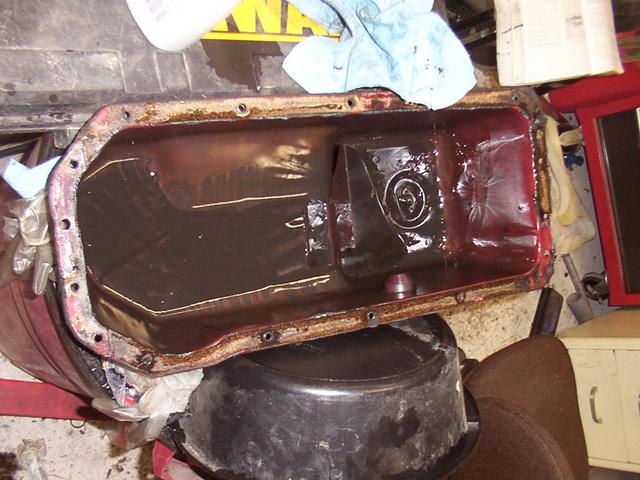

This pan was my first powdercoating experiment a few years back..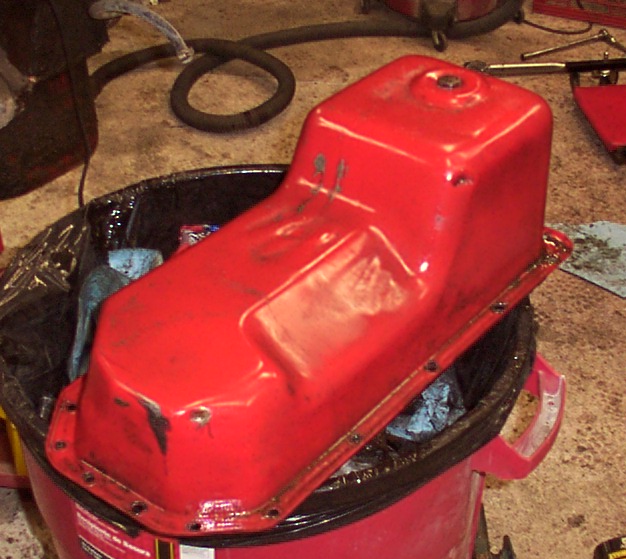
The bent radiator was removed and I thought I'd try to save some money by going with an aluminum universal Ford racing radiator instead of a Scout II radiator - the Ford unit is half the price.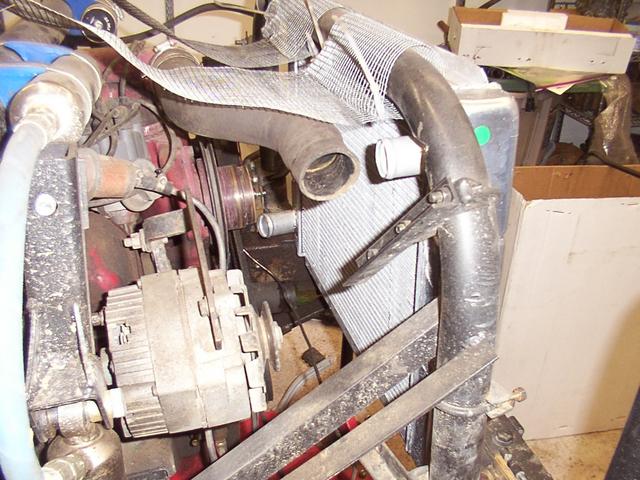
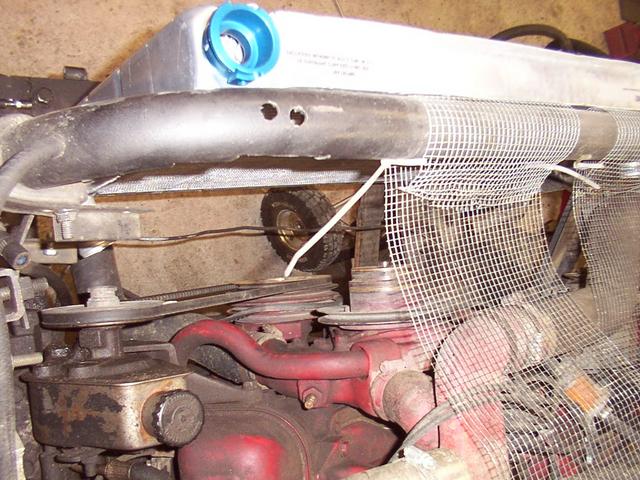
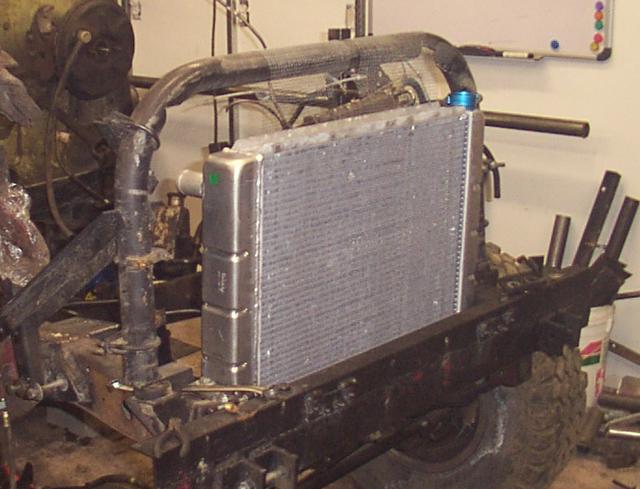
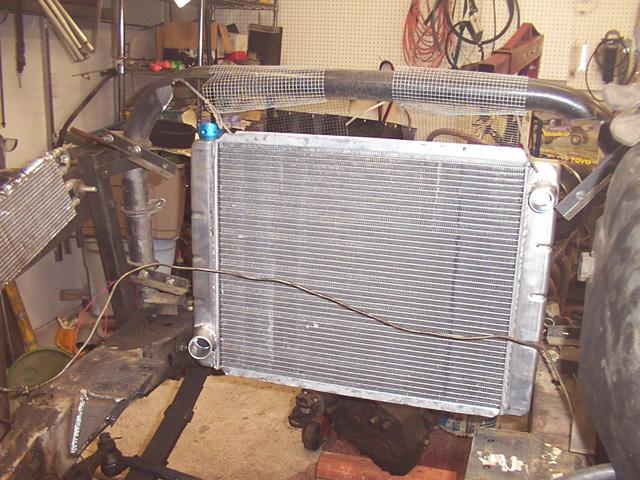
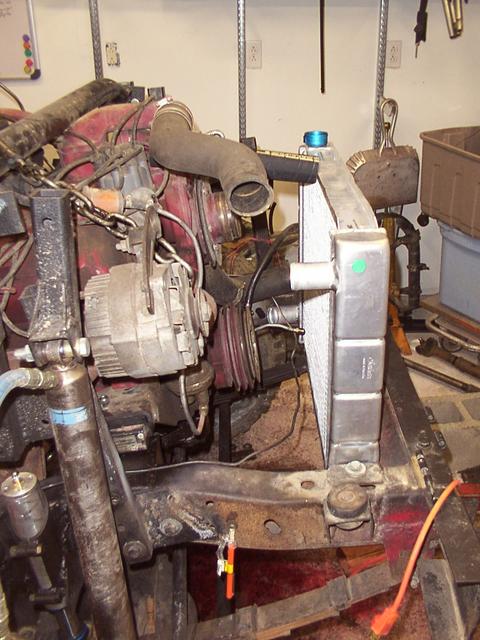
To mount the radiator, I welded some 2" channel into the frame for the radiator to sit on (with some gasket/bushing under it)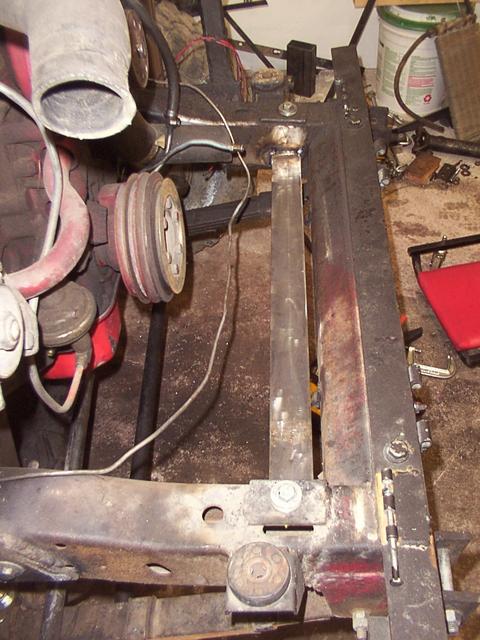
I picked up another Ford Taurus fan to mount to it..
And did some test fitting.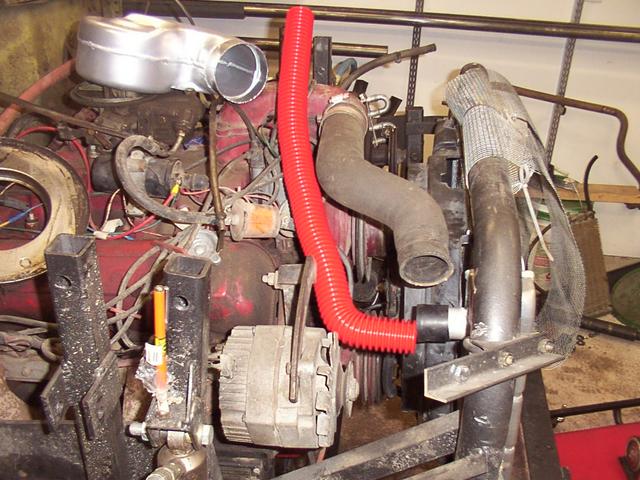
The necks on the Ford radiator are too small for the Scout II hoses, but rather than have new necks TIG'd on, I adapted the Scout to the radiator, and bought a stainless steel hose off Ebay and enough adapters to make it all work.
The stock alt-only bracket interfered, so I had to lower the alternator by using the AC style bracket.
To make the top mounts, I needed some L-brackets.. so I made them, after I made a new press-brake die for my 20T press.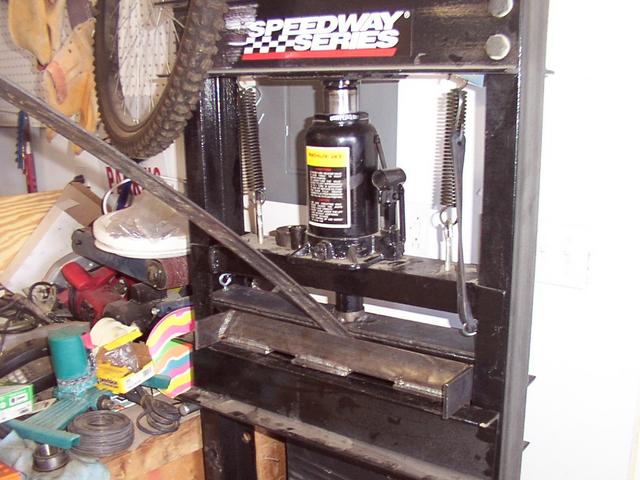
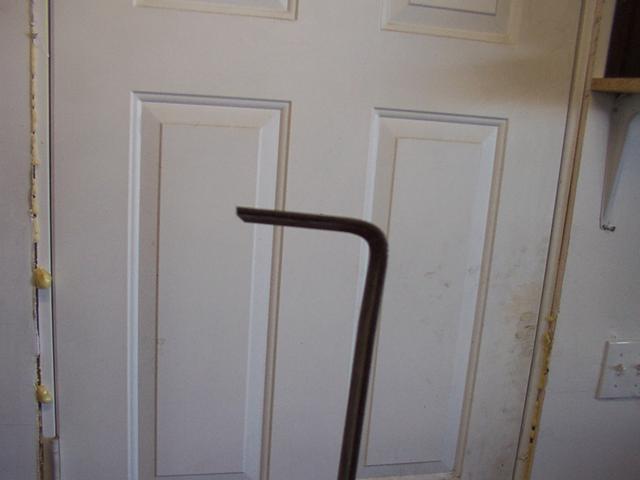
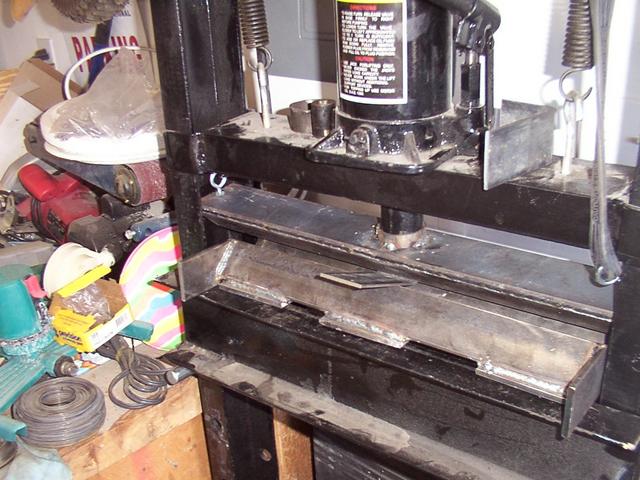
Finished the Taurus fan mount..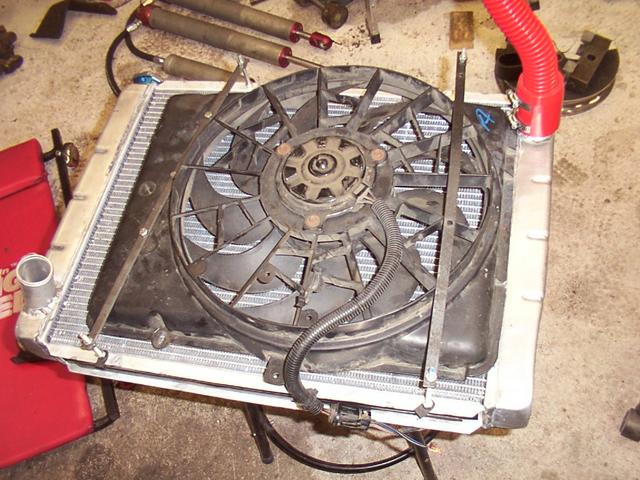
And another test fit.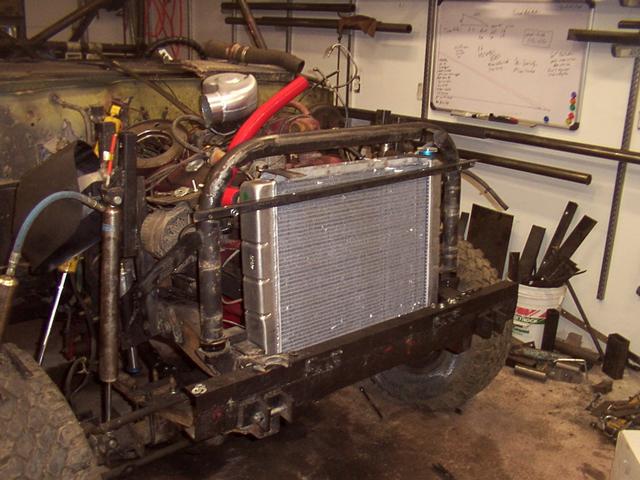
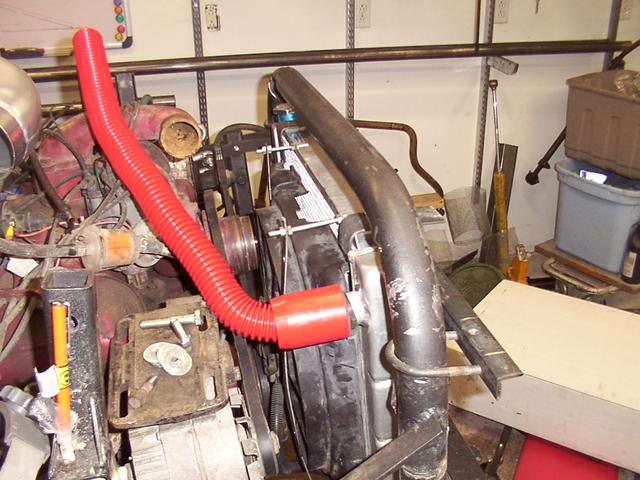
The L-brackets go up and over the top of the radiator and get cinched down to the cross bar.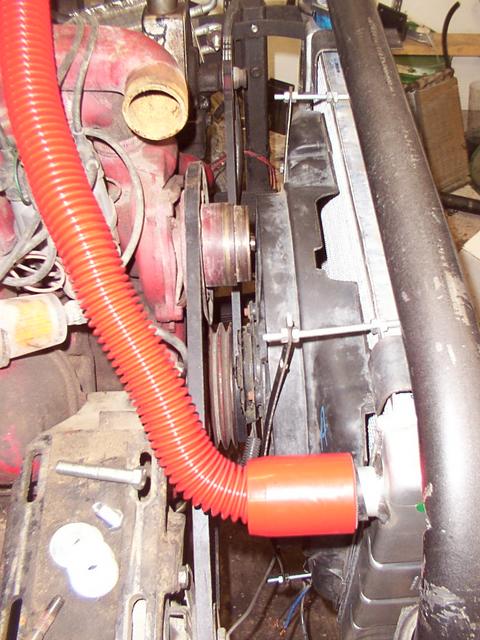
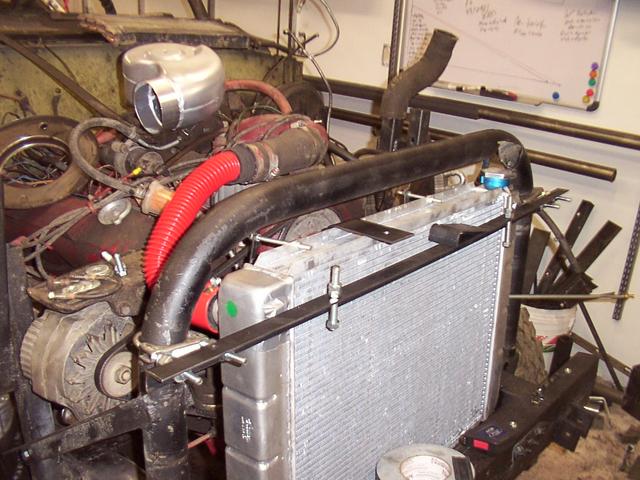
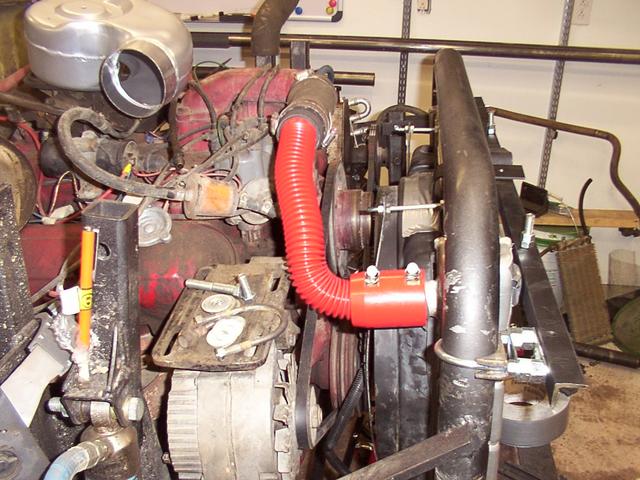
It's a tight fit, and I don't know that it would fit with a stock Scout II core support in place, but it fits with my current setup.
Unfortunately, after running this setup for the 2006 season, I got tired of the Scout overheating all of the time, tossed the radiator aside, and put a $400 SII unit in and solved my cooling issues.
I tried a new air cleaner this time - a cone filter from an 88-95 Tahoe from Ebay for ~$50. I've since decided it just isn't enough filter.
I built a small front bumper to save the radiator if I rear-end someone again..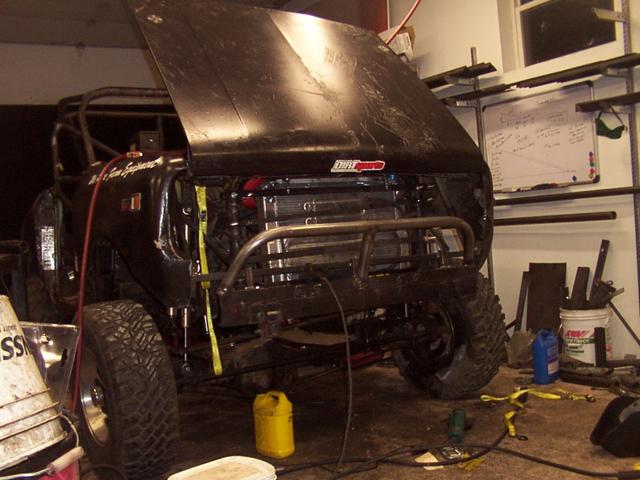
I, of course, had to test that it all worked still..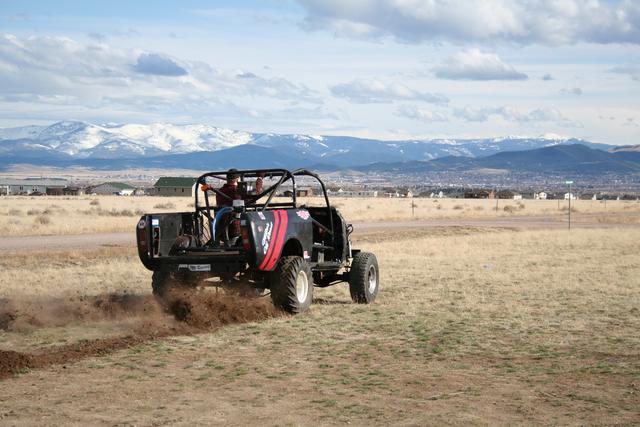
And I outfitted it with a little more sponsor-stuff.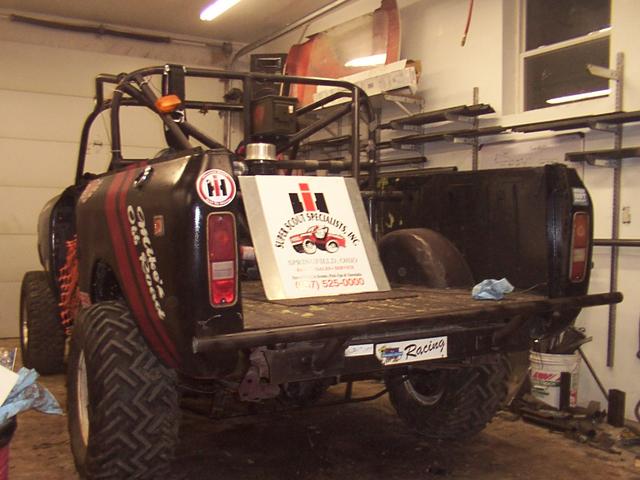
Fresh stickers from SSS and BCB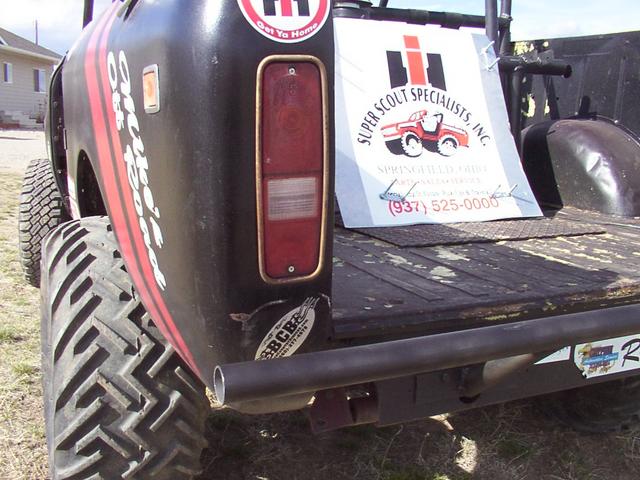
Oh.. and a new "hood scoop" - I cut the hood, bent the flap a bit, and welded a few stand-offs in place.. ta-da.